7.5 KiB
Capture an image - Raspberry Pi
In this part of the lesson, you will add a camera sensor to your Raspberry Pi and capture images with it.
Hardware
The Raspberry Pi requires a camera.
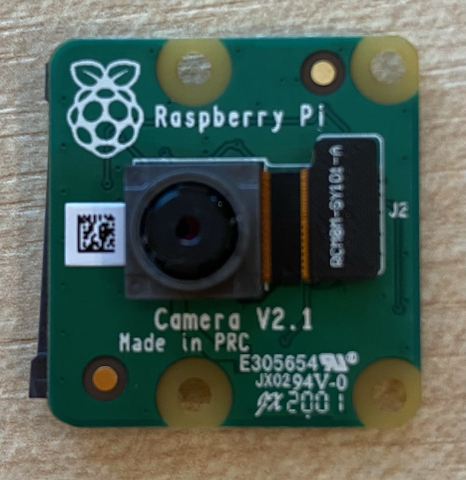
The camera you'll use is a Raspberry Pi Camera Module. This camera is specifically designed for the Raspberry Pi and connects via a dedicated port on the device.
💁 This camera uses the Camera Serial Interface, a protocol from the Mobile Industry Processor Interface Alliance, known as MIPI-CSI. This is a specialized protocol for transmitting images.
Connect the camera
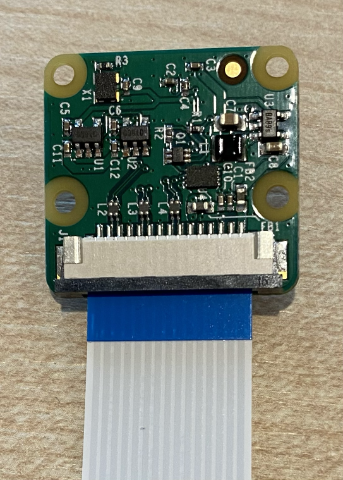
The camera can be connected to the Raspberry Pi using a ribbon cable.
Task - Connect the camera
-
Turn off the Raspberry Pi.
-
Attach the ribbon cable that comes with the camera to the camera module. To do this, gently pull the black plastic clip on the connector outward, slide the cable into the socket with the blue side facing away from the lens and the metal pin strips facing toward the lens. Once the cable is fully inserted, push the black plastic clip back into place.
You can find an animation showing how to open the clip and insert the cable in the Raspberry Pi Getting Started with the Camera module documentation.
-
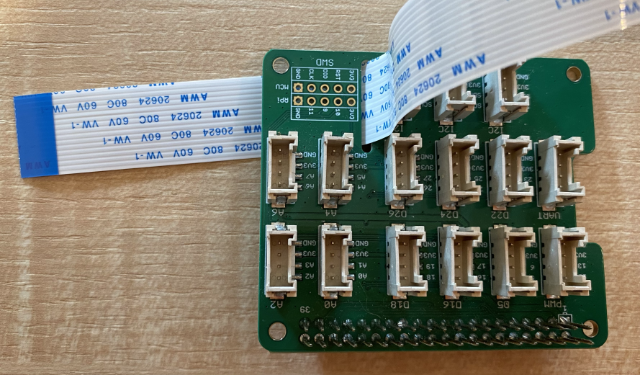
Remove the Grove Base Hat from the Raspberry Pi.
-
Pass the ribbon cable through the camera slot in the Grove Base Hat. Ensure the blue side of the cable faces the analog ports labeled A0, A1, etc.
-
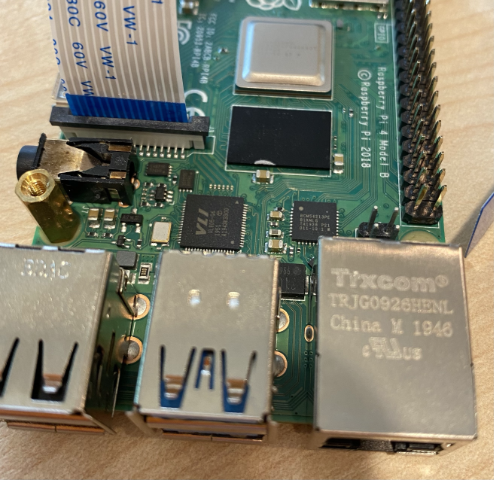
Insert the ribbon cable into the camera port on the Raspberry Pi. Again, pull the black plastic clip upward, insert the cable, and push the clip back down. The blue side of the cable should face the USB and Ethernet ports.
-
Reattach the Grove Base Hat.
Program the camera
The Raspberry Pi can now be programmed to use the camera with the PiCamera Python library.
Task - Enable legacy camera mode
With the release of Raspberry Pi OS Bullseye, the camera software included in the OS changed, and PiCamera no longer works by default. A replacement library, PiCamera2, is in development but is not yet ready for use.
For now, you can enable legacy camera mode to make PiCamera functional. Enabling the legacy camera software will also automatically activate the camera port.
-
Power on the Raspberry Pi and wait for it to boot.
-
Open VS Code, either directly on the Raspberry Pi or by connecting via the Remote SSH extension.
-
Run the following commands in your terminal:
sudo raspi-config nonint do_legacy 0
sudo reboot
These commands will enable the legacy camera software and reboot the Raspberry Pi to apply the changes.
-
Wait for the Raspberry Pi to reboot, then reopen VS Code.
Task - Program the camera
Write a program to use the camera.
-
In the terminal, create a new folder in the
piuser's home directory calledfruit-quality-detector. Inside this folder, create a file namedapp.py. -
Open this folder in VS Code.
-
To interact with the camera, use the PiCamera Python library. Install the library using the following command:
pip3 install picamera -
Add the following code to your
app.pyfile:import io import time from picamera import PiCameraThis code imports the necessary libraries, including the
PiCameralibrary. -
Add the following code below to initialize the camera:
camera = PiCamera()
camera.resolution = (640, 480)
camera.rotation = 0

time.sleep(2)
This code creates a PiCamera object and sets the resolution to 640x480. Although higher resolutions are supported (up to 3280x2464), the image classifier works with much smaller images (227x227), so capturing larger images is unnecessary.
The
camera.rotation = 0line sets the image rotation. The ribbon cable connects to the bottom of the camera, but if you rotate the camera to better point at the object you want to classify, you can adjust this line to match the rotation angle.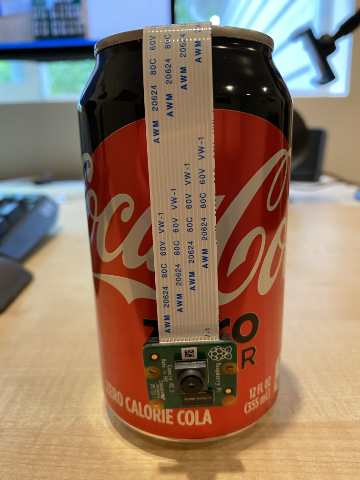
For example, if you suspend the ribbon cable above the camera so it enters from the top, set the rotation to 180:
camera.rotation = 180The camera takes a few seconds to initialize, which is why
time.sleep(2)is included. -
Add the following code below to capture the image as binary data:
image = io.BytesIO()
camera.capture(image, 'jpeg')
image.seek(0)
This code creates a
BytesIOobject to store binary data. The image is captured from the camera as a JPEG file and stored in this object. Theimage.seek(0)line resets the position indicator in the object to the start so all data can be read later. -
Add the following code below to save the image to a file:
with open('image.jpg', 'wb') as image_file:
    image_file.write(image.read())
This code opens a file named
image.jpgfor writing, then reads all the data from theBytesIOobject and writes it to the file.💁 You can capture the image directly to a file instead of using a
BytesIOobject by passing the file name to thecamera.capturecall. TheBytesIOobject is used here so the image can later be sent to an image classifier. -
Point the camera at an object and run the code.
-
An image will be captured and saved as
image.jpgin the current folder. You can view this file in the VS Code explorer. If the image needs rotation, update thecamera.rotation = 0line accordingly and take another picture.
💁 You can find this code in the code-camera/pi folder.
😀 Your camera program is working successfully!
Disclaimer:
This document has been translated using the AI translation service Co-op Translator. While we strive for accuracy, please note that automated translations may contain errors or inaccuracies. The original document in its native language should be regarded as the authoritative source. For critical information, professional human translation is recommended. We are not responsible for any misunderstandings or misinterpretations resulting from the use of this translation.