16 KiB
Introduction to GitHub
This lesson introduces the basics of GitHub, a platform for hosting and managing changes to your code.
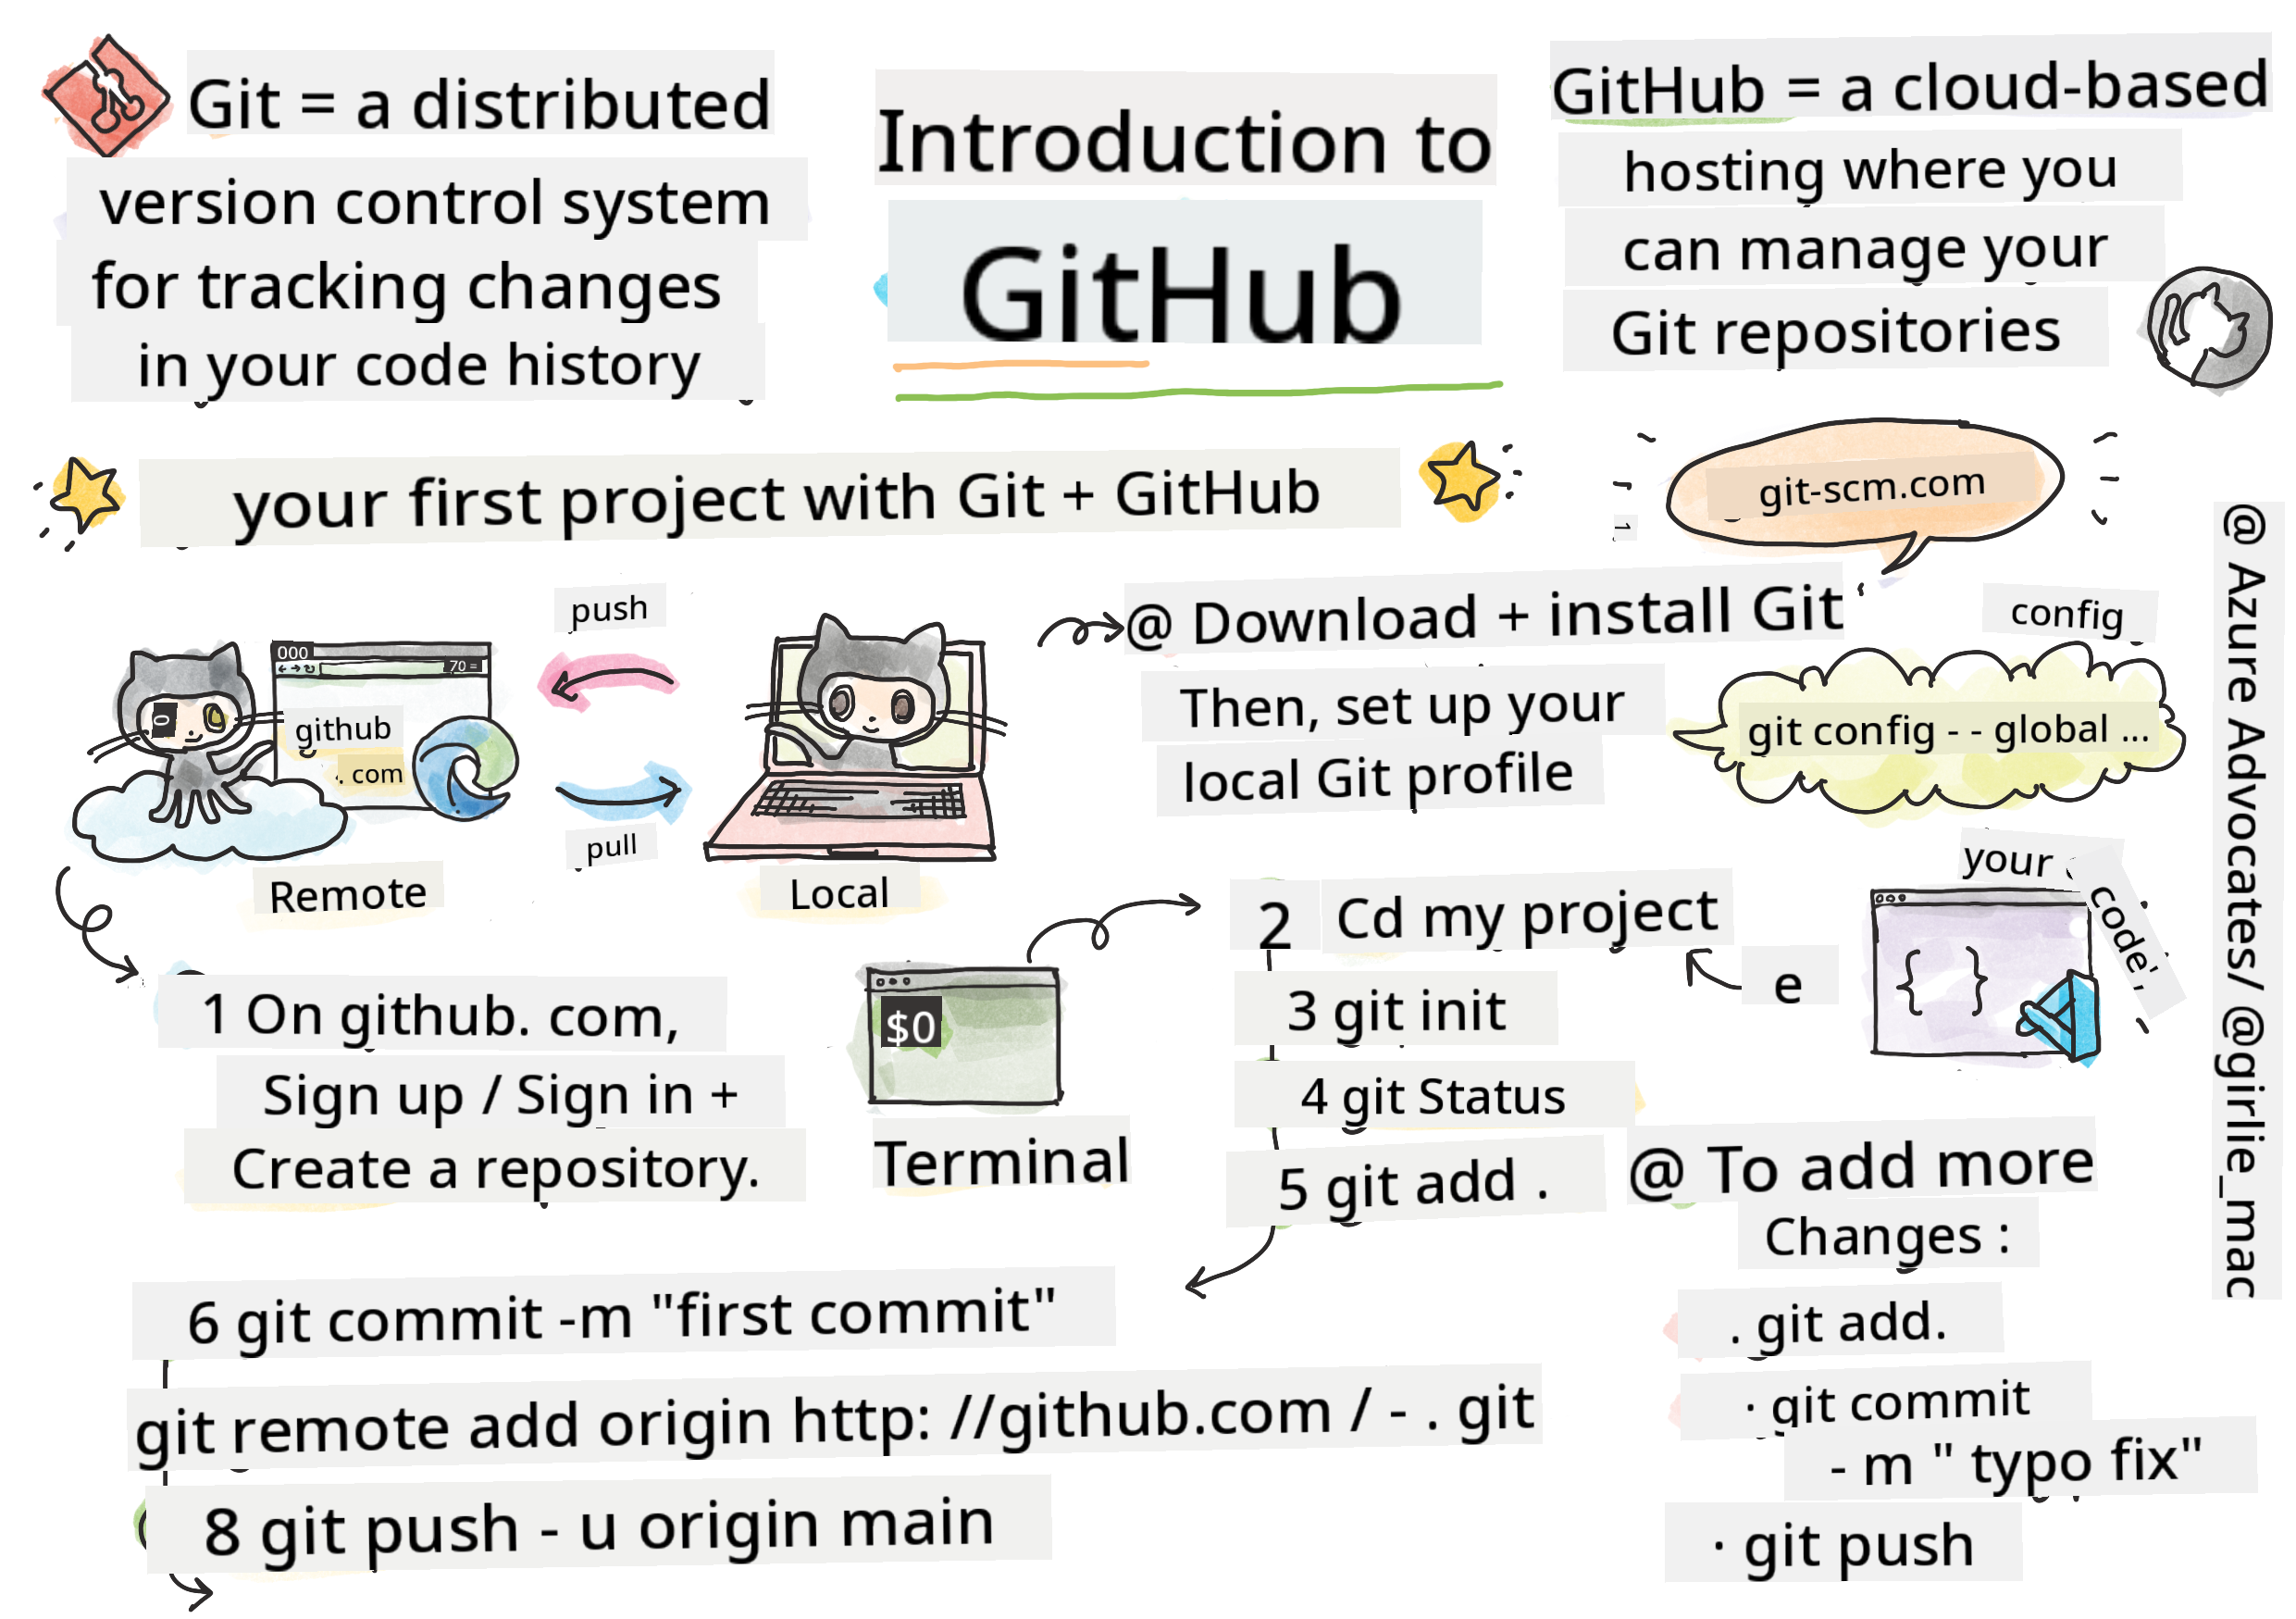
Sketchnote by Tomomi Imura
Pre-Lecture Quiz
Introduction
In this lesson, we’ll explore:
- How to track the work you do on your computer
- Collaborating on projects with others
- Contributing to open source software
Prerequisites
Before starting, ensure Git is installed. In the terminal, type:
git --version
If Git isn’t installed, download Git. Then, set up your local Git profile in the terminal:
git config --global user.name "your-name"git config --global user.email "your-email"
To verify if Git is already configured, type:
git config --list
You’ll also need a GitHub account, a code editor (like Visual Studio Code), and access to your terminal (or command prompt).
Visit github.com to create an account if you don’t have one, or log in and complete your profile.
✅ GitHub isn’t the only code repository platform out there, but it’s the most widely used.
Preparation
You’ll need a folder containing a code project on your local machine (laptop or PC) and a public repository on GitHub. This will serve as an example for contributing to others’ projects.
Code Management
Imagine you have a folder on your computer with a code project, and you want to start tracking your progress using Git, a version control system. Some people liken using Git to writing a love letter to your future self. By reading your commit messages days, weeks, or months later, you can recall why you made certain decisions or even "undo" changes—provided you write clear commit messages.
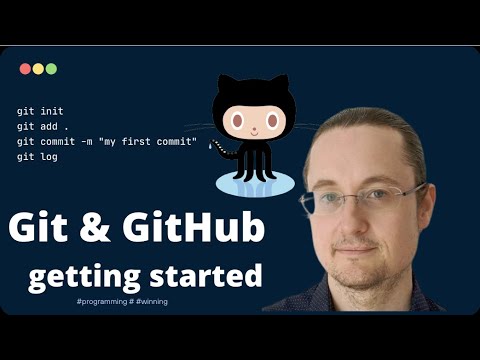
Task: Create a Repository and Commit Code
Watch the video
-
Create a repository on GitHub. On GitHub.com, go to the repositories tab or use the navigation bar in the top-right corner to find the new repo button.
- Name your repository (folder).
- Click create repository.
-
Navigate to your working folder. In your terminal, switch to the folder (directory) you want to start tracking. Type:
cd [name of your folder] -
Initialize a Git repository. In your project folder, type:
git init -
Check the status. To see the status of your repository, type:
git statusThe output might look something like this:
Changes not staged for commit:
(use "git add <file>..." to update what will be committed)
(use "git checkout -- <file>..." to discard changes in working directory)

     modified:   file.txt
     modified:   file2.txt
The
git statuscommand tells you which files are ready to be saved to the repository or have changes you might want to keep. -
Add all files for tracking. This is also called staging files or adding files to the staging area.
git add .The
git add .command stages all your files and changes for tracking. -
Add selected files for tracking.
git add [file or folder name]This allows you to stage only specific files when you don’t want to commit everything at once.
-
Unstage all files.
git resetThis command unstages all files at once.
-
Unstage a specific file.
git reset [file or folder name]This command unstages only a specific file that you don’t want to include in the next commit.
-
Save your work. At this point, you’ve added files to the staging area, where Git tracks your files. To make the changes permanent, you need to create a commit. A commit represents a save point in your repository’s history. Type the following to create a commit:
git commit -m "first commit"This commits all your files with the message "first commit." For future commits, use more descriptive messages to explain the changes you made.
-
Connect your local Git repository to GitHub. While a Git repository on your computer is useful, you’ll eventually want to back up your files and collaborate with others. GitHub is a great place for this. Since we’ve already created a repository on GitHub, we just need to connect it to our local Git repository. Use the
git remote addcommand. Type:Before running the command, go to your GitHub repository page to find the repository URL. Replace
https://github.com/username/repository_name.gitwith your GitHub URL.git remote add origin https://github.com/username/repository_name.gitThis creates a remote connection named "origin" pointing to the GitHub repository you created earlier.
-
Push local files to GitHub. Now that you’ve connected your local repository to GitHub, send your files to GitHub using the
git pushcommand:Note: Your branch name may differ from
main.git push -u origin mainThis pushes your commits from the "main" branch to GitHub.
-
Add more changes. To continue making changes and pushing them to GitHub, use the following three commands:
git add .
git commit -m "type your commit message here"
git push
Tip: Consider using a
.gitignorefile to exclude files you don’t want to track on GitHub, such as personal notes stored in the same folder. You can find templates for.gitignorefiles at .gitignore templates.
Commit Messages
A great Git commit subject line completes this sentence:
If applied, this commit will .
For the subject, use the imperative, present tense: "change" instead of "changed" or "changes."
In the optional body, also use the imperative, present tense. Explain the motivation for the change and contrast it with previous behavior. Focus on the why, not the how.
✅ Spend a few minutes exploring GitHub. Can you find an excellent commit message? How about a very minimal one? What information do you think is most important to include in a commit message?
Task: Collaborate
The main reason for using GitHub is to collaborate with other developers.
Working on Projects with Others
Watch the video
In your repository, go to Insights > Community to see how your project aligns with recommended community standards.
Here are some ways to improve your GitHub repository:
- Description: Did you add a description for your project?
- README: Did you include a README? GitHub offers guidance for writing a README.
- Contributing Guidelines: Does your project have contributing guidelines?
- Code of Conduct: Does it include a Code of Conduct?
- License: Most importantly, does it have a license?
These resources help onboard new team members. Contributors often review these documents before even looking at your code to decide if your project is worth their time.
✅ README files are often overlooked by busy maintainers, even though they take time to prepare. Can you find an example of a particularly detailed README? Note: There are tools to help create good READMEs that you might find useful.
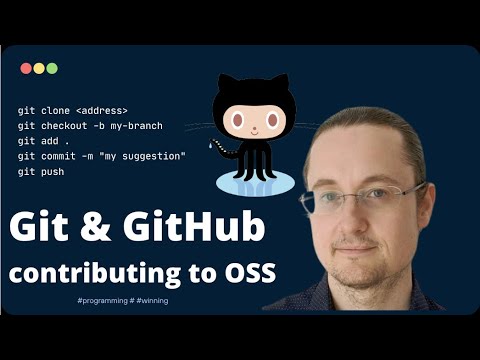
Task: Merge Some Code
Contributing documentation helps others contribute to your project. It explains what types of contributions you’re looking for and how the process works. Contributors will need to follow these steps to contribute to your GitHub repository:
- Fork your repository. Contributors will likely fork your project, creating a copy of your repository on their GitHub profile.
- Clone. They will then clone the project to their local machine.
- Create a branch. Ask contributors to create a branch for their work.
- Focus on one area. Encourage contributors to focus on one change at a time. This increases the likelihood of successfully merging their work. For example, if they fix a bug, add a feature, and update tests, what if you only want to implement one or two of those changes?
✅ Think of situations where branches are essential for writing and shipping good code. What use cases come to mind?
Note: Be the change you want to see—create branches for your own work too. Any commits you make will apply to the branch you’re currently “checked out” to. Use
git statusto see which branch you’re on.
Let’s walk through a contributor workflow. Assume the contributor has already forked and cloned the repository, so they have a Git repository ready to work on locally:
-
Create a branch. Use the
git branchcommand to create a branch for the changes they want to contribute:git branch [branch-name] -
Switch to the working branch. Switch to the specified branch and update the working directory using
git switch:git switch [branch-name] -
Make changes. Add your changes and let Git know about them using the following commands:
git add .
git commit -m "my changes"
Be sure to give your commit a meaningful name for your benefit and the repository maintainer’s.
-
Merge changes with the
mainbranch. Once you’re done working, merge your changes with themainbranch. Since themainbranch may have changed in the meantime, update it first using these commands:git switch main git pullTo ensure any conflicts are resolved in your working branch, run the following commands:
git switch [branch_name]
git merge main
This brings all changes from
maininto your branch. If there are conflicts, VS Code will highlight them, and you can resolve them by editing the affected files. -
Push changes to GitHub. Pushing your changes to GitHub involves two steps: pushing your branch to your repository and opening a Pull Request (PR).
git push --set-upstream origin [branch-name]This command creates the branch on your forked repository.
-
Open a PR. Navigate to your forked repository on GitHub. You’ll see an option to create a new PR. Click it, and you’ll be taken to an interface where you can edit the commit message title and add a description. The maintainer of the original repository will review your PR and, hopefully, merge it. Congratulations—you’re now a contributor!
-
Clean up. After successfully merging a PR, it’s good practice to clean up. Delete both your local branch and the branch you pushed to GitHub. First, delete it locally using this command:
git branch -d [branch-name]
Ensure you go to the GitHub page for the forked repository next and remove the remote branch you just pushed to it.
Pull request might sound like a strange term because, in reality, you're trying to push your changes to the project. However, the maintainer (project owner) or core team needs to review your changes before merging them into the project's "main" branch. Essentially, you're requesting a decision from the maintainer about your proposed changes.
A pull request is where you can compare and discuss the differences introduced in a branch, with reviews, comments, integrated tests, and more. A good pull request follows similar guidelines to a commit message. You can also reference an issue in the issue tracker, for example, when your work resolves a specific issue. This is done by using a # followed by the issue number, such as #97.
🤞Fingers crossed that all checks pass and the project owner(s) merge your changes into the project 🤞
Update your current local working branch with all the new commits from the corresponding remote branch on GitHub:
git pull
How to contribute to open source
First, find a repository (or repo) on GitHub that interests you and to which you'd like to contribute. You'll need to copy its contents to your machine.
✅ A great way to find 'beginner-friendly' repositories is to search by the tag 'good-first-issue'.
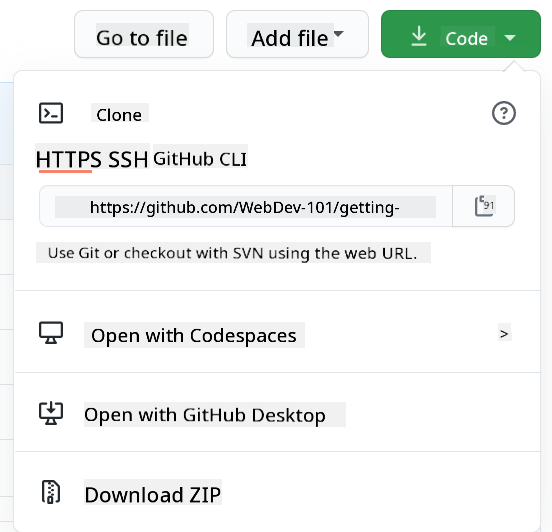
There are several ways to copy code. One method is to "clone" the repository's contents using HTTPS, SSH, or the GitHub CLI (Command Line Interface).
Open your terminal and clone the repository like this:
git clone https://github.com/ProjectURL
To start working on the project, navigate to the correct folder:
cd ProjectURL
You can also open the entire project using Codespaces, GitHub's built-in code editor and cloud development environment, or GitHub Desktop.
Alternatively, you can download the code as a zipped folder.
A few more interesting things about GitHub
You can star, watch, and/or "fork" any public repository on GitHub. Your starred repositories can be found in the drop-down menu in the top-right corner. It's like bookmarking, but for code.
Projects typically have an issue tracker, usually found in the "Issues" tab on GitHub unless stated otherwise. This is where people discuss project-related issues. The Pull Requests tab is where discussions and reviews of ongoing changes take place.
Projects may also have discussions in forums, mailing lists, or chat platforms like Slack, Discord, or IRC.
✅ Explore your new GitHub repository and try a few things, such as editing settings, adding information to your repository, or creating a project (like a Kanban board). There's a lot to discover!
🚀 Challenge
Pair up with a friend to work on each other's code. Create a project together, fork code, create branches, and merge changes.
Post-Lecture Quiz
Review & Self Study
Read more about contributing to open source software.
Practice, practice, practice. GitHub offers excellent learning paths through skills.github.com:
You'll also find more advanced courses.
Assignment
Complete the First Week on GitHub course
Disclaimer:
This document has been translated using the AI translation service Co-op Translator. While we aim for accuracy, please note that automated translations may include errors or inaccuracies. The original document in its native language should be regarded as the authoritative source. For critical information, professional human translation is advised. We are not responsible for any misunderstandings or misinterpretations resulting from the use of this translation.