12 KiB
채팅 프로젝트
이 채팅 프로젝트는 GitHub Models를 사용하여 채팅 어시스턴트를 구축하는 방법을 보여줍니다.
완성된 프로젝트는 다음과 같은 모습입니다:
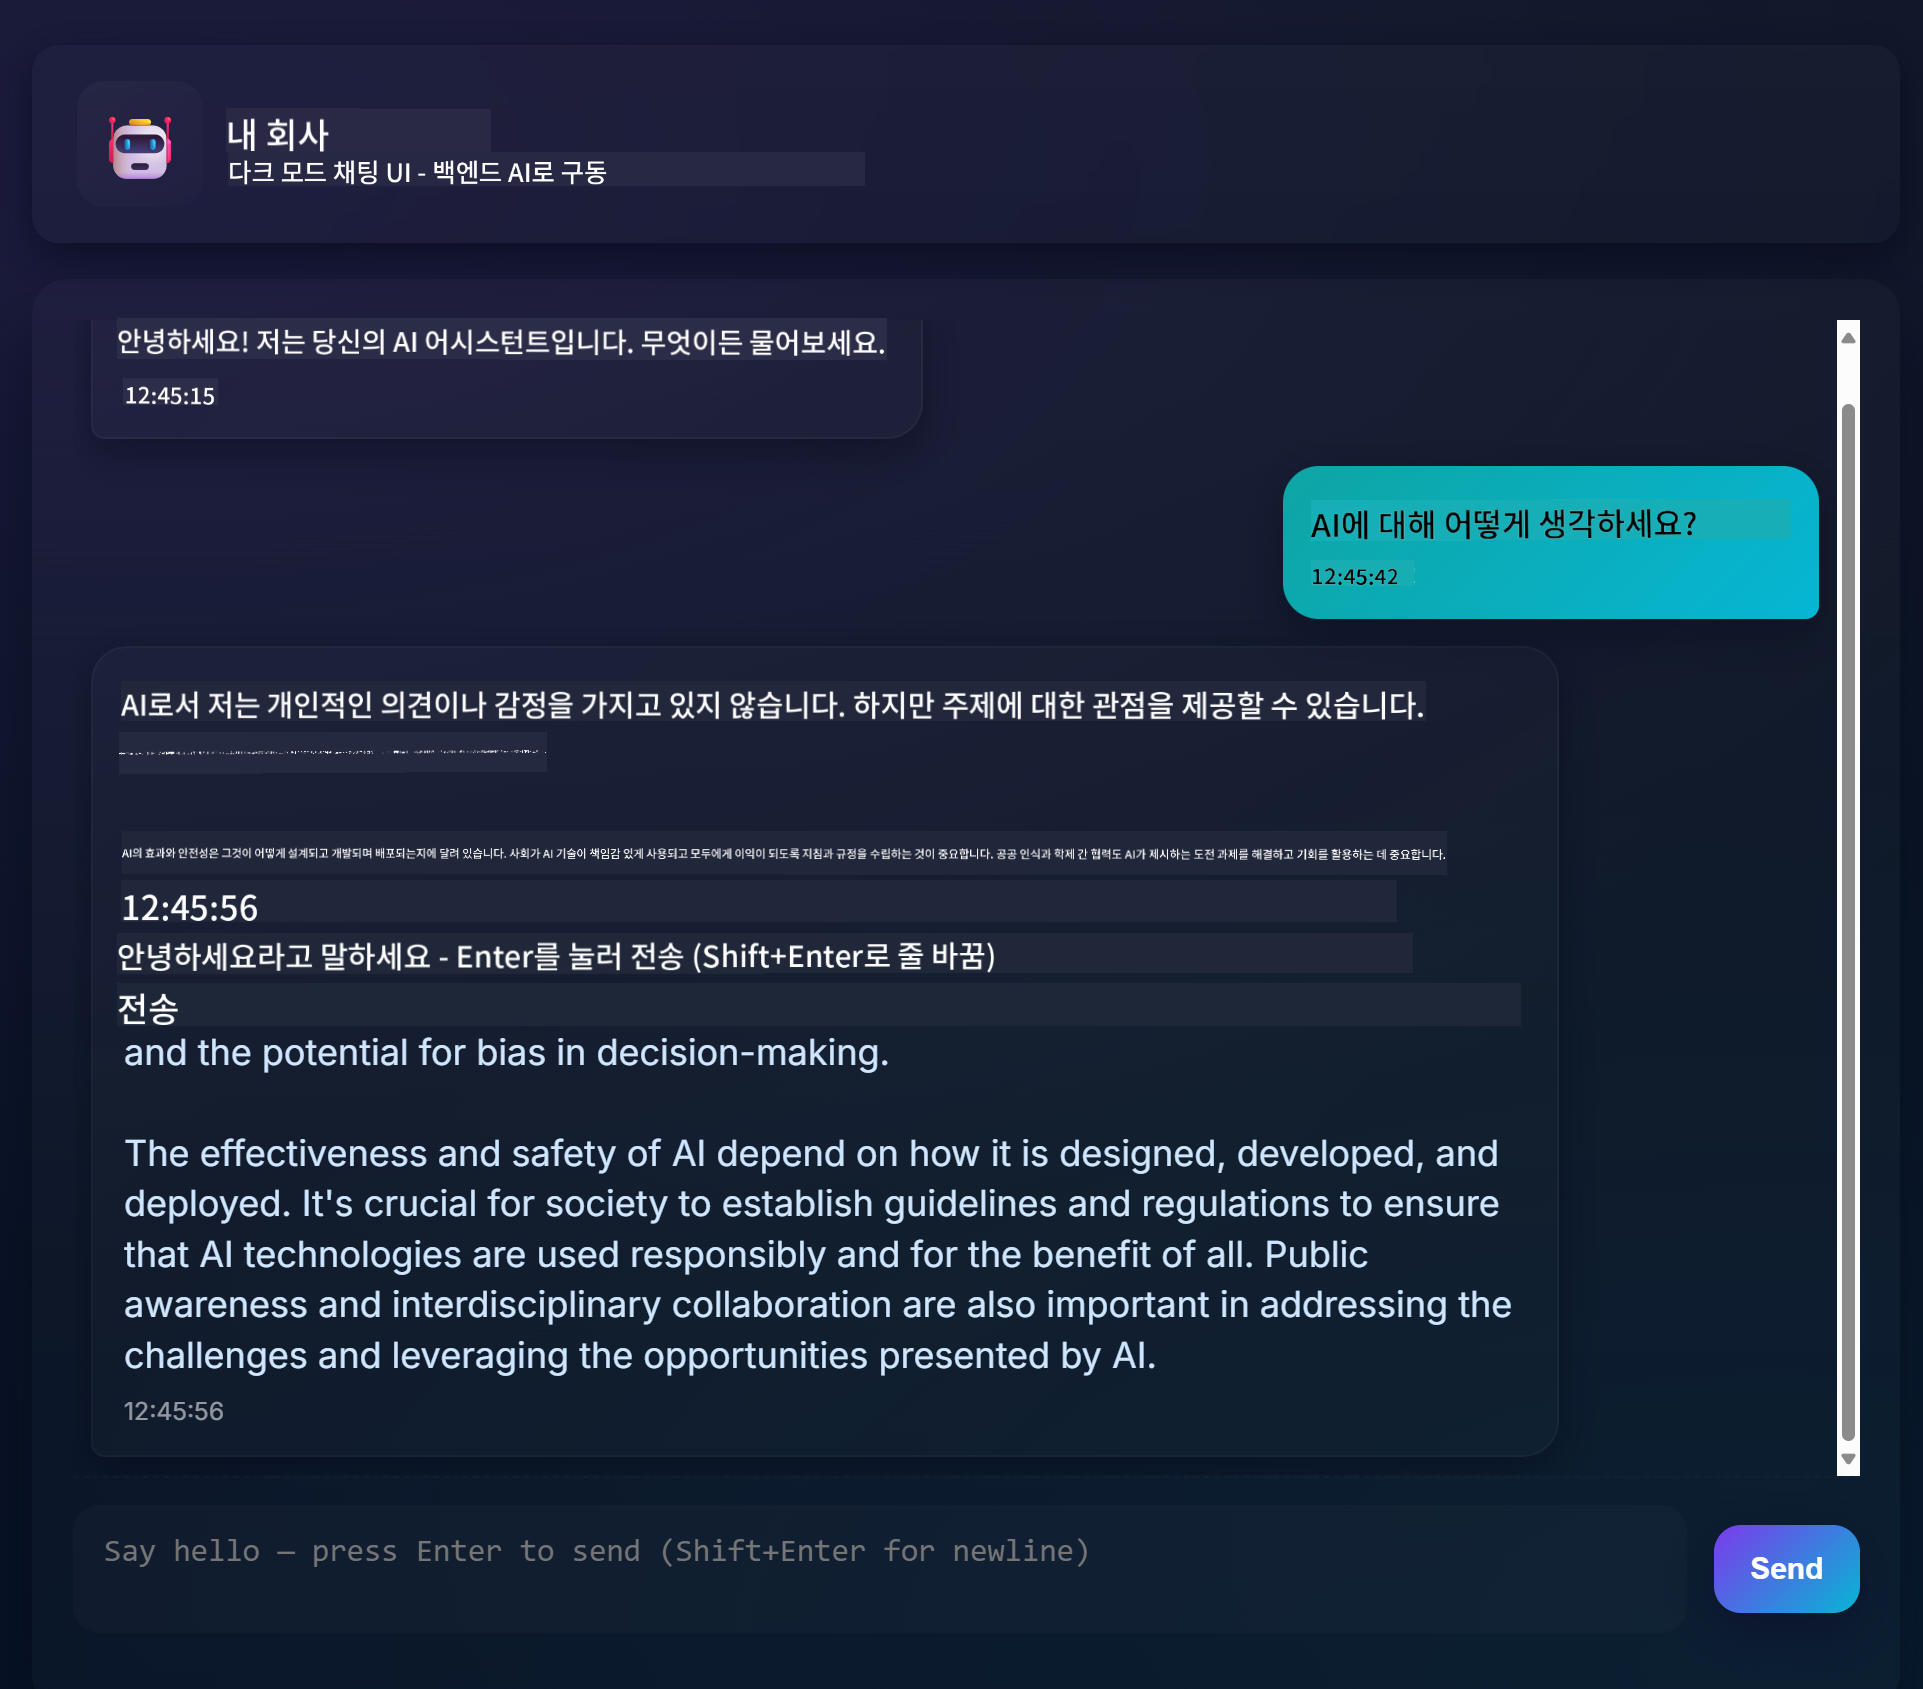
생성형 AI를 사용하여 채팅 어시스턴트를 만드는 것은 AI를 배우기 시작하는 훌륭한 방법입니다. 이번 레슨에서는 생성형 AI를 웹 앱에 통합하는 방법을 배울 것입니다. 시작해봅시다.
생성형 AI 연결하기
백엔드로는 GitHub Models를 사용합니다. 이 서비스는 무료로 AI를 사용할 수 있게 해주는 훌륭한 도구입니다. GitHub Models Playground에 접속하여 선택한 백엔드 언어에 해당하는 코드를 가져오세요. GitHub Models Playground에서 확인할 수 있습니다.
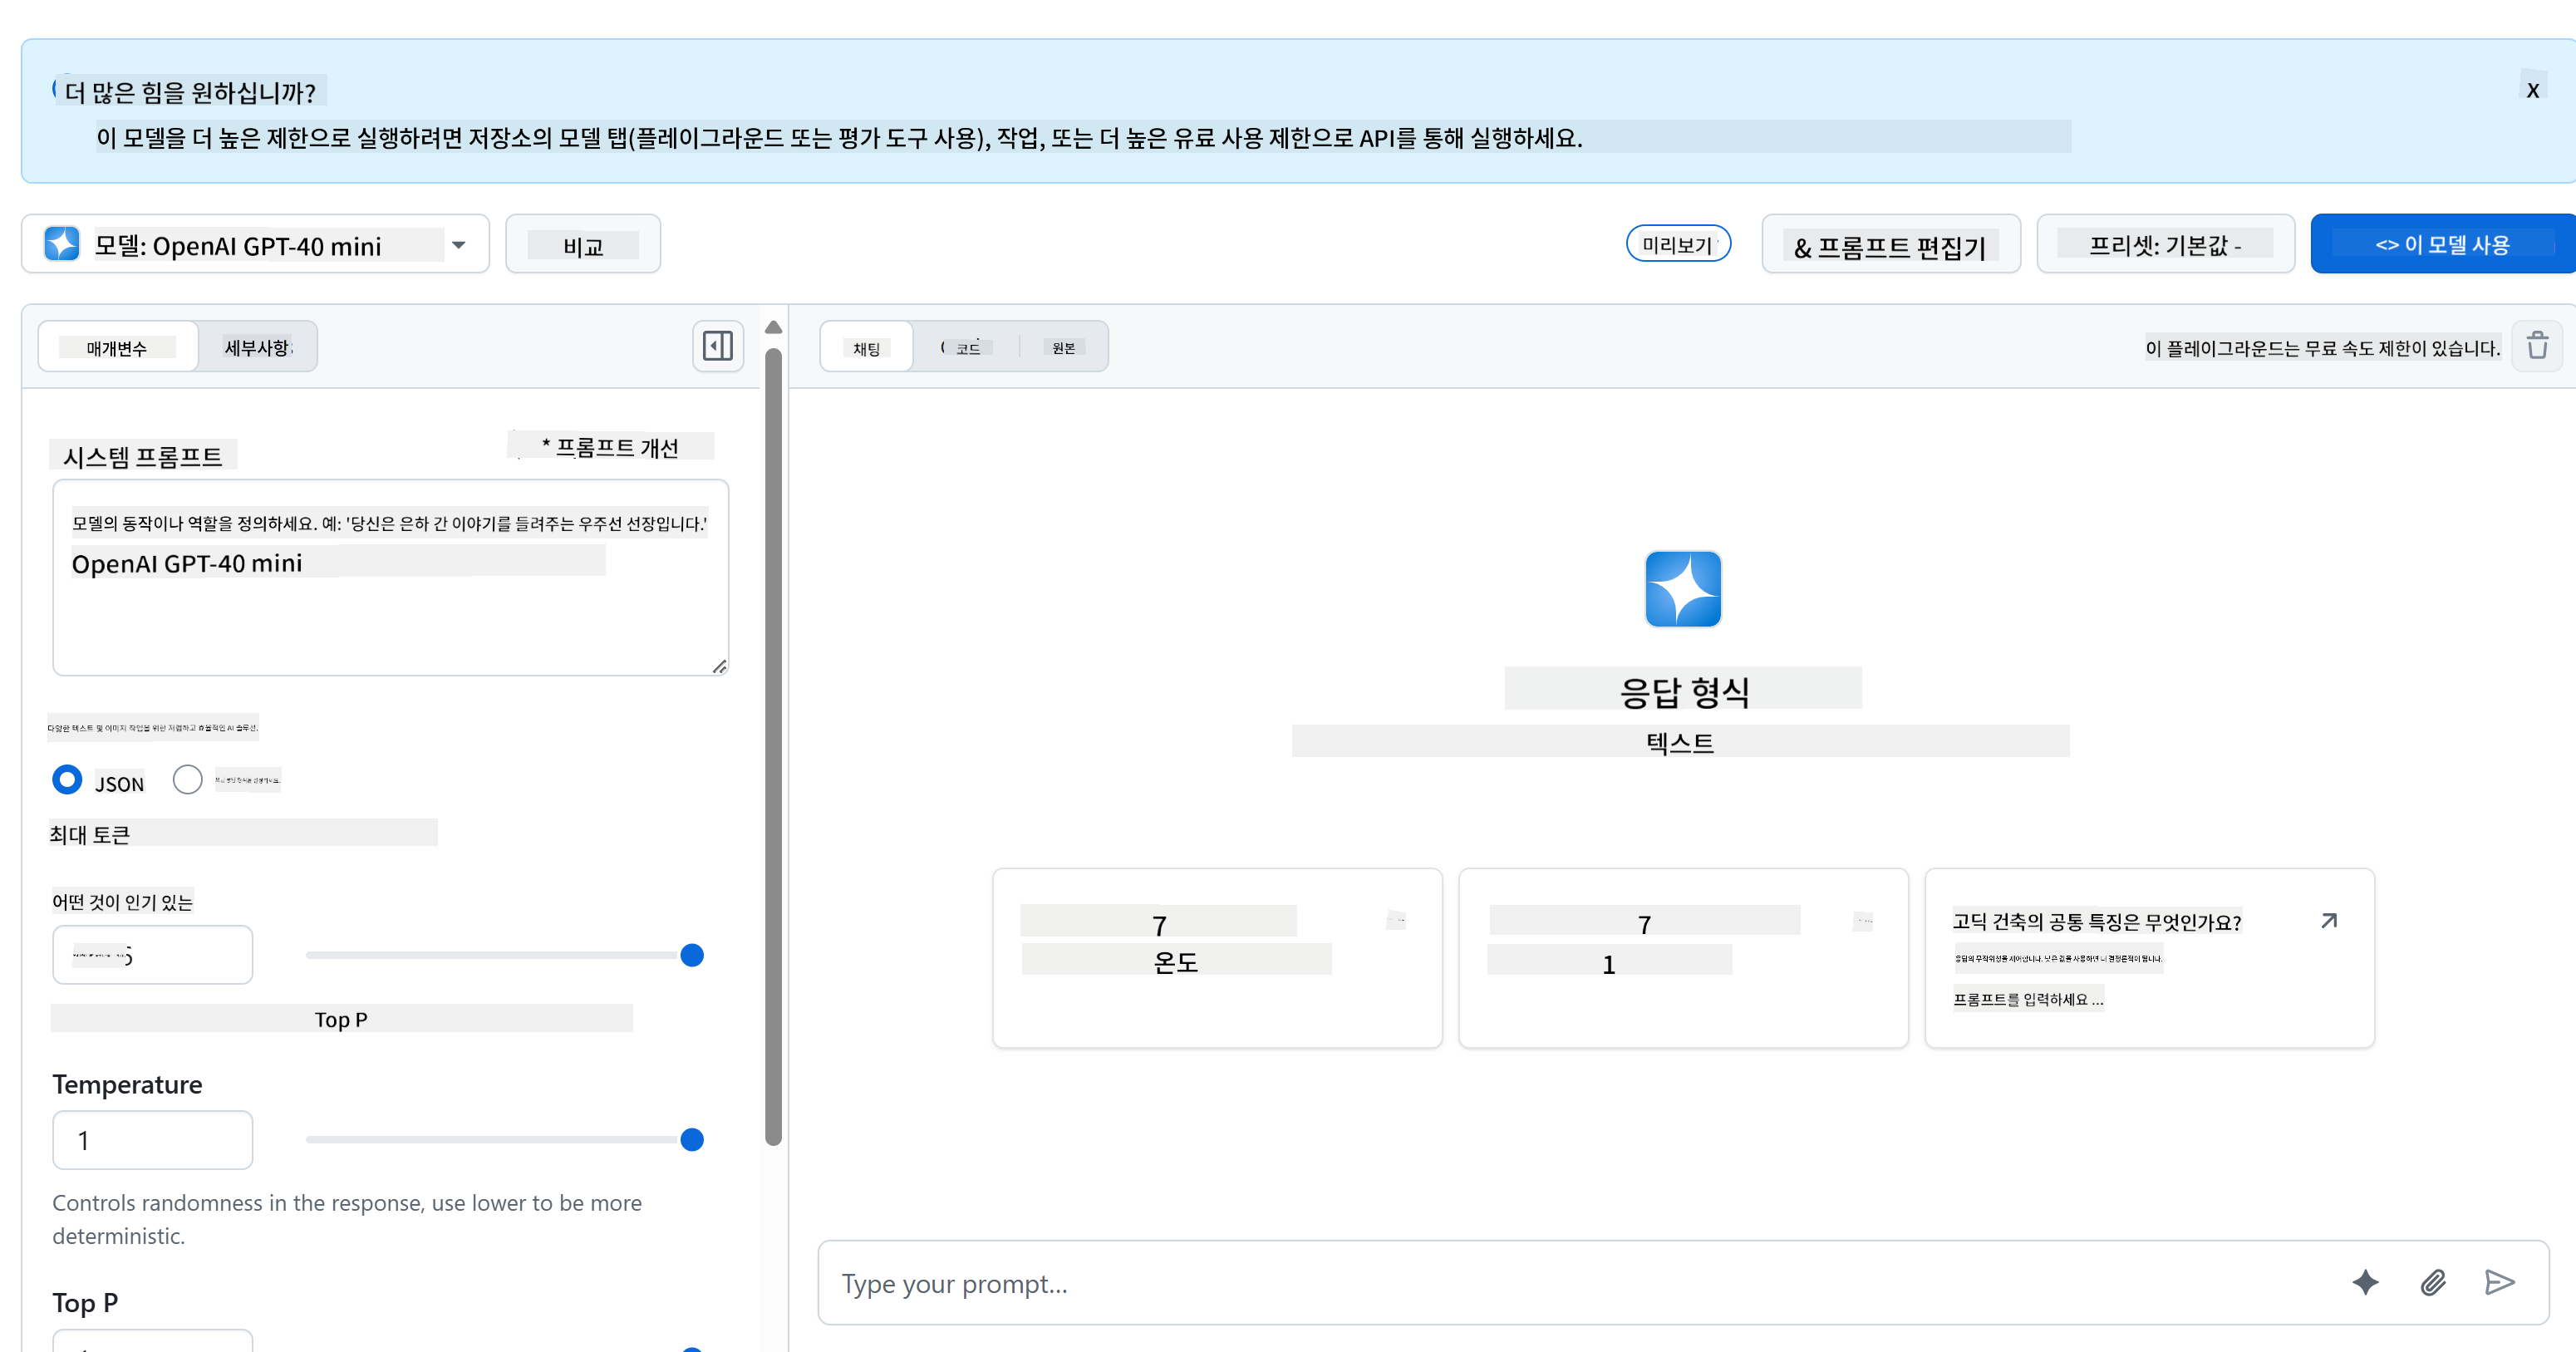
"Code" 탭과 원하는 런타임을 선택하세요.

Python 사용하기
이 경우 Python을 선택하면 다음 코드를 가져오게 됩니다:
"""Run this model in Python

> pip install openai
"""
import os
from openai import OpenAI

# To authenticate with the model you will need to generate a personal access token (PAT) in your GitHub settings.
# Create your PAT token by following instructions here: https://docs.github.com/en/authentication/keeping-your-account-and-data-secure/managing-your-personal-access-tokens
client = OpenAI(
    base_url="https://models.github.ai/inference",
    api_key=os.environ["GITHUB_TOKEN"],
)

response = client.chat.completions.create(
    messages=[
        {
            "role": "system",
            "content": "",
        },
        {
            "role": "user",
            "content": "What is the capital of France?",
        }
    ],
    model="openai/gpt-4o-mini",
    temperature=1,
    max_tokens=4096,
    top_p=1
)

print(response.choices[0].message.content)
이 코드를 조금 정리하여 재사용 가능하게 만들어봅시다:
def call_llm(prompt: str, system_message: str):
    response = client.chat.completions.create(
        messages=[
            {
                "role": "system",
                "content": system_message,
            },
            {
                "role": "user",
                "content": prompt,
            }
        ],
        model="openai/gpt-4o-mini",
        temperature=1,
        max_tokens=4096,
        top_p=1
    )

    return response.choices[0].message.content
이 call_llm 함수는 프롬프트와 시스템 프롬프트를 받아 결과를 반환합니다.
AI 어시스턴트 커스터마이징
AI 어시스턴트를 커스터마이징하고 싶다면 시스템 프롬프트를 다음과 같이 설정하여 원하는 동작을 지정할 수 있습니다:
call_llm("Tell me about you", "You're Albert Einstein, you only know of things in the time you were alive")
웹 API를 통해 노출하기
AI 부분은 완료되었습니다. 이제 이를 웹 API에 통합하는 방법을 살펴봅시다. 웹 API로는 Flask를 사용하지만, 다른 웹 프레임워크도 괜찮습니다. 코드를 살펴보겠습니다:
Python 사용하기
# api.py
from flask import Flask, request, jsonify
from llm import call_llm
from flask_cors import CORS

app = Flask(__name__)
CORS(app)   # *   example.com

@app.route("/", methods=["GET"])
def index():
    return "Welcome to this API. Call POST /hello with 'message': 'my message' as JSON payload"


@app.route("/hello", methods=["POST"])
def hello():
    # get message from request body  { "message": "do this taks for me" }
    data = request.get_json()
    message = data.get("message", "")

    response = call_llm(message, "You are a helpful assistant.")
    return jsonify({
        "response": response
    })

if __name__ == "__main__":
    app.run(host="0.0.0.0", port=5000)
여기서는 Flask API를 생성하고 기본 경로 "/"와 "/chat"을 정의합니다. "/chat"은 프론트엔드에서 질문을 전달하기 위해 사용됩니다.
llm.py를 통합하려면 다음을 수행해야 합니다:
-
call_llm함수 가져오기:from llm import call_llm from flask import Flask, request -
"/chat" 경로에서 호출하기:
@app.route("/hello", methods=["POST"])
def hello():
   # get message from request body  { "message": "do this taks for me" }
   data = request.get_json()
   message = data.get("message", "")

   response = call_llm(message, "You are a helpful assistant.")
   return jsonify({
      "response": response
   })
여기서는 들어오는 요청을 파싱하여 JSON 본문에서
message속성을 가져옵니다. 그런 다음 LLM을 호출합니다:response = call_llm(message, "You are a helpful assistant") # return the response as JSON return jsonify({ "response": response })
좋습니다. 필요한 작업을 완료했습니다.
Cors 설정
백엔드와 프론트엔드가 서로 다른 포트에서 실행되기 때문에 프론트엔드가 백엔드에 호출할 수 있도록 CORS(교차 출처 리소스 공유)를 설정해야 합니다.
Python 사용하기
api.py에 다음 코드가 설정되어 있습니다:
from flask_cors import CORS

app = Flask(__name__)
CORS(app)   # *   example.com
현재는 모든 출처를 허용하는 "*"로 설정되어 있습니다. 이는 안전하지 않으므로 프로덕션 환경에서는 제한해야 합니다.
프로젝트 실행하기
프로젝트를 실행하려면 먼저 백엔드를 시작한 후 프론트엔드를 시작해야 합니다.
Python 사용하기
llm.py와 api.py를 가지고 백엔드를 실행하려면 다음을 수행해야 합니다:
-
의존성 설치:
cd backend python -m venv venv source ./venv/bin/activate pip install openai flask flask-cors openai -
API 시작하기:
python api.pyCodespaces를 사용하는 경우 편집기 하단의 Ports로 이동하여 오른쪽 클릭 후 "Port Visibility"를 선택하고 "Public"을 클릭하세요.
프론트엔드 작업하기
API가 실행 중이라면 이제 프론트엔드를 만들어봅시다. 최소한의 프론트엔드를 단계적으로 개선해 나갈 것입니다. frontend 폴더에 다음을 생성하세요:
backend/
frontend/
index.html
app.js
styles.css
먼저 index.html을 살펴봅시다:
<html>
    <head>
        <link rel="stylesheet" href="styles.css">
    </head>
    <body>
      <form>
        <textarea id="messages"></textarea>
        <input id="input" type="text" />
        <button type="submit" id="sendBtn">Send</button>
      </form>
      <script src="app.js" />
    </body>
</html>
위 코드는 채팅 창을 지원하기 위해 필요한 최소한의 코드입니다. 메시지가 렌더링될 textarea, 메시지를 입력할 input, 메시지를 백엔드로 보내는 버튼으로 구성되어 있습니다. 다음으로 app.js의 JavaScript를 살펴봅시다.
app.js
// app.js

(function(){
  // 1. set up elements
  const messages = document.getElementById("messages");
  const form = document.getElementById("form");
  const input = document.getElementById("input");

  const BASE_URL = "change this";
  const API_ENDPOINT = `${BASE_URL}/hello`;

  // 2. create a function that talks to our backend
  async function callApi(text) {
    const response = await fetch(API_ENDPOINT, {
      method: "POST",
      headers: { "Content-Type": "application/json" },
      body: JSON.stringify({ message: text })
    });
    let json = await response.json();
    return json.response;
  }

  // 3. add response to our textarea
  function appendMessage(text, role) {
    const el = document.createElement("div");
    el.className = `message ${role}`;
    el.innerHTML = text;
    messages.appendChild(el);
  }

  // 4. listen to submit events
  form.addEventListener("submit", async(e) => {
    e.preventDefault();
   // someone clicked the button in the form

   // get input
   const text = input.value.trim();

   appendMessage(text, "user")

   // reset it
   input.value = '';

   const reply = await callApi(text);

   // add to messages
   appendMessage(reply, "assistant");

  })
})();
코드를 섹션별로 살펴보겠습니다:
-
- 여기서는 나중에 참조할 모든 요소를 가져옵니다.
-
- 이 섹션에서는 내장된
fetch메서드를 사용하여 백엔드를 호출하는 함수를 생성합니다.
- 이 섹션에서는 내장된
-
appendMessage는 사용자 입력과 응답을 추가하는 데 도움을 줍니다.
-
- 여기서는 submit 이벤트를 감지하여 입력 필드를 읽고, 사용자의 메시지를 textarea에 추가하고, API를 호출하여 응답을 textarea에 렌더링합니다.
다음으로 스타일링을 살펴봅시다. 원하는 대로 디자인할 수 있지만, 다음은 몇 가지 제안입니다:
styles.css
.message {
    background: #222;
    box-shadow: 0 0 0 10px orange;
    padding: 10px:
    margin: 5px;
}

.message.user {
    background: blue;
}

.message.assistant {
    background: grey;
}
이 세 가지 클래스는 메시지가 어시스턴트에서 왔는지 사용자에서 왔는지에 따라 다르게 스타일링합니다. 영감을 얻고 싶다면 solution/frontend/styles.css 폴더를 확인하세요.
Base Url 변경하기
여기서 설정하지 않은 한 가지는 BASE_URL입니다. 이는 백엔드가 시작될 때까지 알 수 없습니다. 설정 방법은 다음과 같습니다:
- API를 로컬에서 실행하는 경우
http://localhost:5000으로 설정해야 합니다. - Codespaces에서 실행하는 경우 "[name]app.github.dev"와 같은 형태가 됩니다.
과제
project 폴더를 생성하고 다음과 같은 내용을 포함하세요:
project/
  frontend/
    index.html
    app.js
    styles.css
  backend/
    ...
위에서 설명한 내용을 복사하되, 원하는 대로 커스터마이징하세요.
솔루션
보너스
AI 어시스턴트의 성격을 변경해보세요.
Python의 경우
api.py에서 call_llm을 호출할 때 두 번째 인수를 원하는 대로 변경할 수 있습니다. 예를 들어:
call_llm(message, "You are Captain Picard")
프론트엔드
CSS와 텍스트도 변경하여 index.html과 styles.css에서 원하는 대로 수정하세요.
요약
처음부터 AI를 사용하여 개인 어시스턴트를 만드는 방법을 배웠습니다. GitHub Models, Python 백엔드, HTML, CSS, JavaScript 프론트엔드를 사용하여 이를 구현했습니다.
Codespaces로 설정하기
-
다음으로 이동하세요: Web Dev For Beginners repo
-
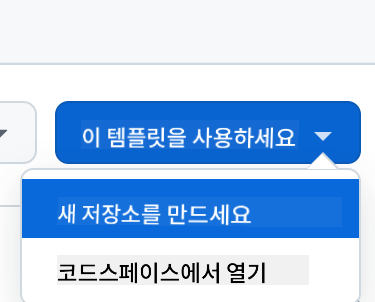
템플릿에서 생성하기(로그인 상태여야 함): 오른쪽 상단에서 선택하세요.
-
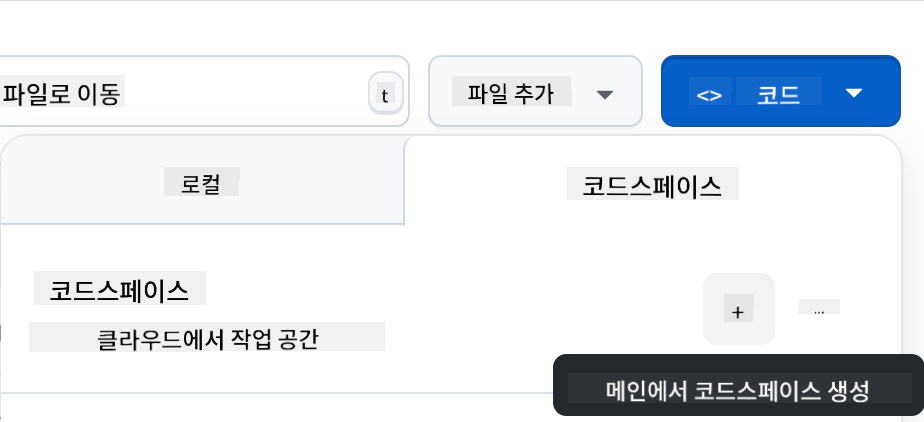
자신의 저장소에서 Codespace를 생성하세요:
이제 작업할 수 있는 환경이 시작됩니다.
면책 조항:
이 문서는 AI 번역 서비스 Co-op Translator를 사용하여 번역되었습니다. 정확성을 위해 최선을 다하고 있으나, 자동 번역에는 오류나 부정확성이 포함될 수 있습니다. 원본 문서의 원어 버전을 신뢰할 수 있는 권위 있는 자료로 간주해야 합니다. 중요한 정보의 경우, 전문적인 인간 번역을 권장합니다. 이 번역 사용으로 인해 발생하는 오해나 잘못된 해석에 대해 책임을 지지 않습니다.