25 KiB
Data Science in the Cloud: The "Low code/No code" way
 |
|---|
| Data Science In The Cloud: Low Code - Sketchnote by @nitya |
Table of contents:
- Data Science in the Cloud: The "Low code/No code" way
Pre-Lecture quiz
1. Introduction
1.1 What is Azure Machine Learning?
The Azure cloud platform offers over 200 products and services designed to help you create innovative solutions. Data scientists spend a significant amount of time exploring and preparing data, as well as testing various model-training algorithms to achieve accurate results. These tasks can be time-intensive and often lead to inefficient use of costly compute resources.
Azure ML is a cloud-based platform for developing and managing machine learning solutions in Azure. It provides a variety of tools and features to help data scientists prepare data, train models, deploy predictive services, and monitor their usage. Most importantly, it enhances efficiency by automating many of the repetitive tasks involved in training models. It also allows the use of scalable cloud-based compute resources, enabling the handling of large datasets while incurring costs only when resources are actively used.
Azure ML offers a comprehensive suite of tools for developers and data scientists, including:
- Azure Machine Learning Studio: A web-based portal for low-code and no-code options for model training, deployment, automation, tracking, and asset management. It integrates seamlessly with the Azure Machine Learning SDK.
- Jupyter Notebooks: For quickly prototyping and testing machine learning models.
- Azure Machine Learning Designer: A drag-and-drop interface for building experiments and deploying pipelines in a low-code environment.
- Automated machine learning UI (AutoML): Automates repetitive tasks in model development, enabling the creation of scalable, efficient, and high-quality machine learning models.
- Data Labeling: A tool that assists in automatically labeling data.
- Machine learning extension for Visual Studio Code: A full-featured development environment for managing machine learning projects.
- Machine learning CLI: Command-line tools for managing Azure ML resources.
- Integration with open-source frameworks: Compatibility with PyTorch, TensorFlow, Scikit-learn, and other frameworks for end-to-end machine learning processes.
- MLflow: An open-source library for managing the lifecycle of machine learning experiments. MLflow Tracking logs and tracks metrics and artifacts from training runs, regardless of the experiment's environment.
1.2 The Heart Failure Prediction Project:
Building projects is one of the best ways to test your skills and knowledge. In this lesson, we will explore two approaches to creating a data science project for predicting heart failure in Azure ML Studio: the Low code/No code method and the Azure ML SDK method, as illustrated in the following diagram:

Each approach has its advantages and disadvantages. The Low code/No code method is easier to get started with, as it involves interacting with a graphical user interface (GUI) and requires no prior coding knowledge. This method is ideal for quickly testing a project's feasibility and creating a proof of concept (POC). However, as the project scales and needs to be production-ready, relying solely on the GUI becomes impractical. Automating tasks programmatically, from resource creation to model deployment, becomes essential. This is where the Azure ML SDK comes into play.
| Low code/No code | Azure ML SDK | |
|---|---|---|
| Expertise in code | Not required | Required |
| Time to develop | Fast and easy | Depends on code expertise |
| Production ready | No | Yes |
1.3 The Heart Failure Dataset:
Cardiovascular diseases (CVDs) are the leading cause of death worldwide, accounting for 31% of all global deaths. Factors such as tobacco use, unhealthy diets, obesity, physical inactivity, and excessive alcohol consumption can serve as features for predictive models. Estimating the likelihood of developing CVDs can be invaluable in preventing heart attacks in high-risk individuals.
Kaggle provides a publicly available Heart Failure dataset, which we will use for this project. You can download the dataset now. It is a tabular dataset with 13 columns (12 features and 1 target variable) and 299 rows.
| Variable name | Type | Description | Example | |
|---|---|---|---|---|
| 1 | age | numerical | Age of the patient | 25 |
| 2 | anaemia | boolean | Decrease in red blood cells or hemoglobin | 0 or 1 |
| 3 | creatinine_phosphokinase | numerical | Level of CPK enzyme in the blood | 542 |
| 4 | diabetes | boolean | Whether the patient has diabetes | 0 or 1 |
| 5 | ejection_fraction | numerical | Percentage of blood leaving the heart per contraction | 45 |
| 6 | high_blood_pressure | boolean | Whether the patient has hypertension | 0 or 1 |
| 7 | platelets | numerical | Platelet count in the blood | 149000 |
| 8 | serum_creatinine | numerical | Level of serum creatinine in the blood | 0.5 |
| 9 | serum_sodium | numerical | Level of serum sodium in the blood | 137 |
| 10 | sex | boolean | Gender (0 for female, 1 for male) | 0 or 1 |
| 11 | smoking | boolean | Whether the patient smokes | 0 or 1 |
| 12 | time | numerical | Follow-up period (in days) | 4 |
| ---- | --------------------------- | ----------------- | ----------------------------------------------------------- | ------------------- |
| 13 | DEATH_EVENT [Target] | boolean | Whether the patient died during the follow-up period | 0 or 1 |
Once you have the dataset, we can begin the project in Azure.
2. Low code/No code training of a model in Azure ML Studio
2.1 Create an Azure ML workspace
To train a model in Azure ML, you first need to create an Azure ML workspace. The workspace is the central resource for Azure Machine Learning, where you can manage all the artifacts created during your machine learning workflows. It keeps a record of all training runs, including logs, metrics, outputs, and snapshots of your scripts. This information helps you identify which training run produced the best model. Learn more
It is recommended to use the latest version of a browser compatible with your operating system. Supported browsers include:
- Microsoft Edge (latest version, not the legacy version)
- Safari (latest version, Mac only)
- Chrome (latest version)
- Firefox (latest version)
To use Azure Machine Learning, create a workspace in your Azure subscription. This workspace will allow you to manage data, compute resources, code, models, and other artifacts related to your machine learning projects.
NOTE: Your Azure subscription will incur a small charge for data storage as long as the Azure Machine Learning workspace exists. It is recommended to delete the workspace when it is no longer needed.
-
Sign in to the Azure portal using the Microsoft credentials associated with your Azure subscription.
-
Select +Create a resource.
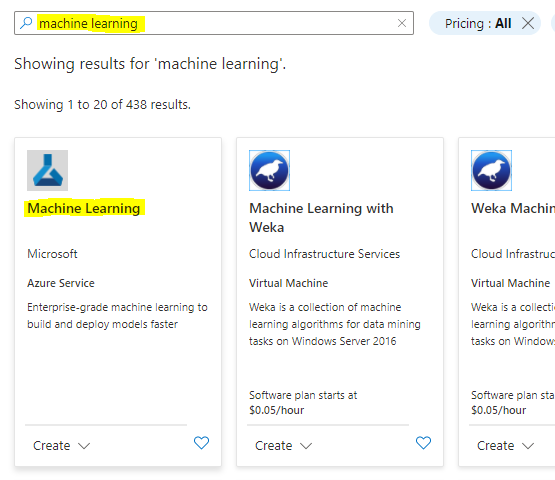
Search for Machine Learning and select the Machine Learning tile.
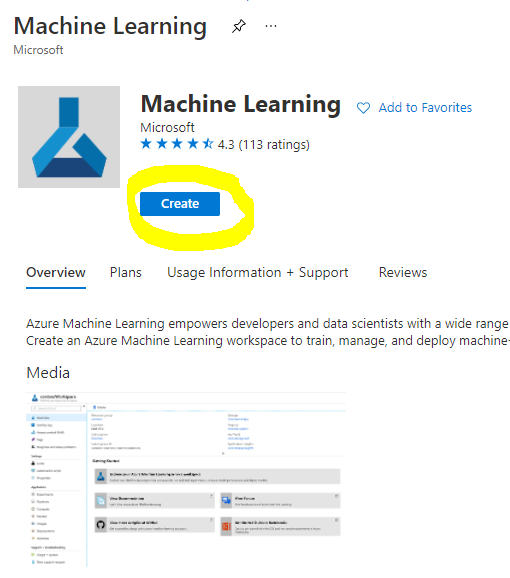
Click the create button.
Fill in the settings as follows:
- Subscription: Your Azure subscription
- Resource group: Create or select a resource group
- Workspace name: Enter a unique name for your workspace
- Region: Select the geographical region closest to you
- Storage account: Note the default new storage account that will be created for your workspace
- Key vault: Note the default new key vault that will be created for your workspace
- Application insights: Note the default new application insights resource that will be created for your workspace
- Container registry: None (one will be created automatically the first time you deploy a model to a container)
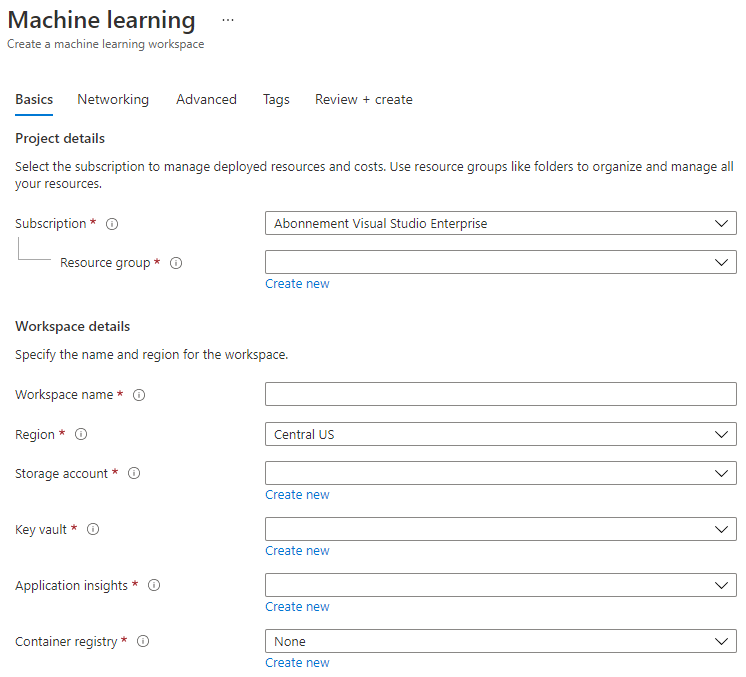
- Click the create + review button, then click the create button.
-
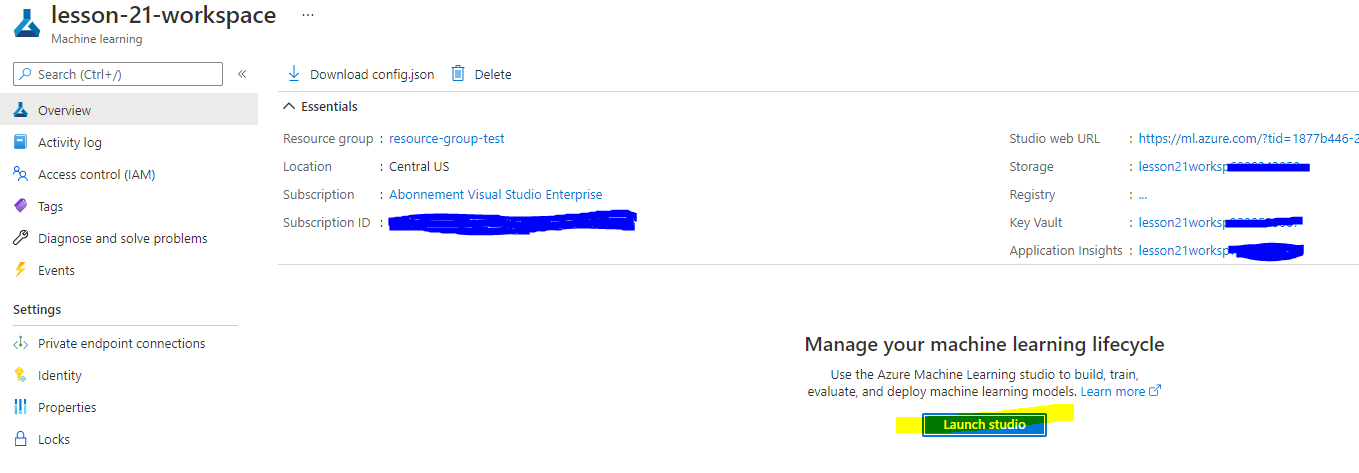
Wait for your workspace to be created (this may take a few minutes). Once created, navigate to it in the portal. You can find it under the Machine Learning Azure service.
-
On the Overview page for your workspace, launch Azure Machine Learning Studio (or open a new browser tab and go to https://ml.azure.com). Sign in to Azure Machine Learning Studio using your Microsoft account. If prompted, select your Azure directory, subscription, and Azure Machine Learning workspace.
- In Azure Machine Learning Studio, click the ☰ icon at the top left to explore the various pages in the interface. These pages allow you to manage the resources in your workspace.
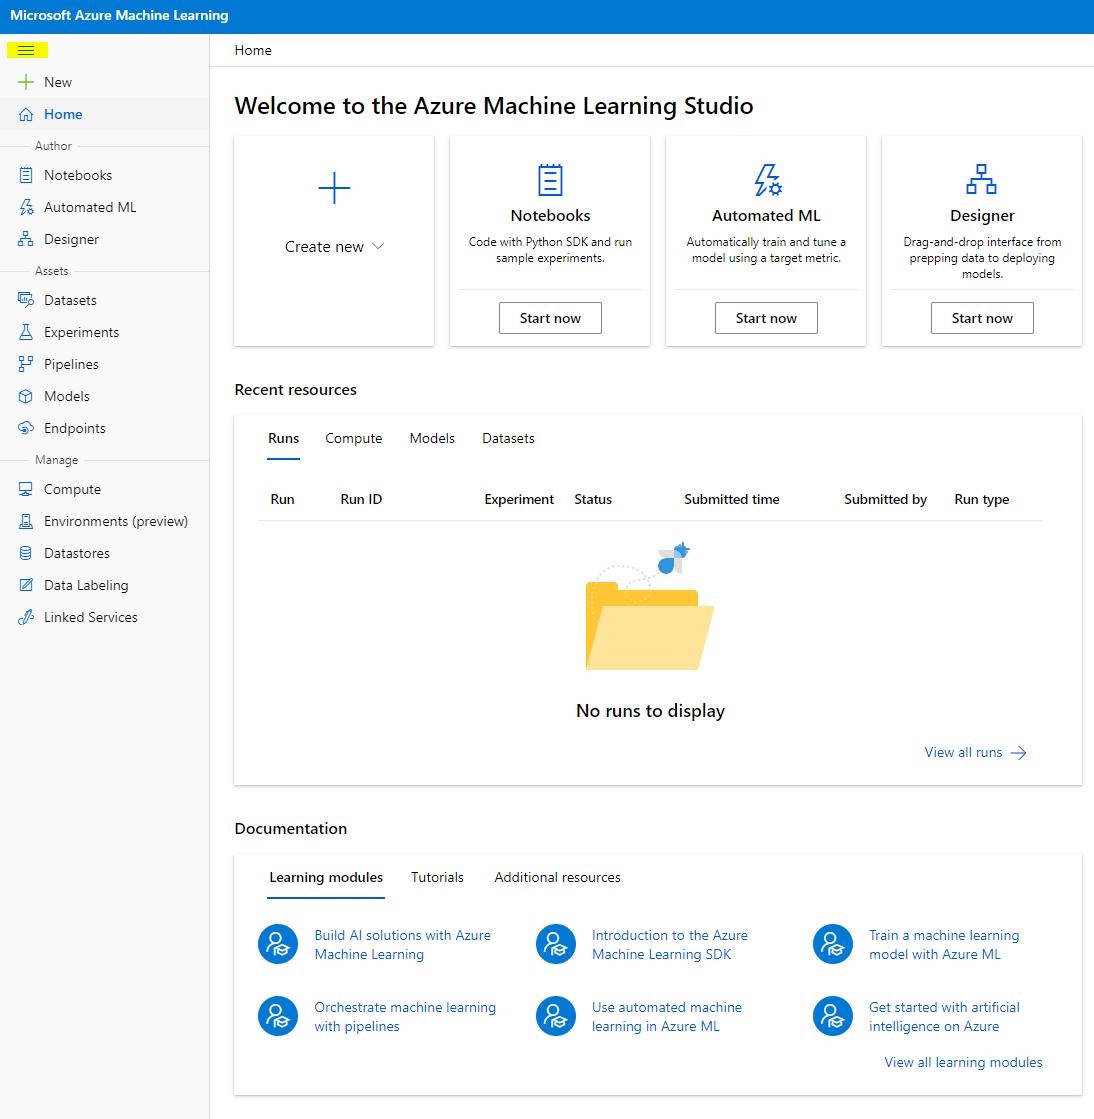
You can manage your workspace through the Azure portal, but Azure Machine Learning Studio provides a more user-friendly interface tailored for data scientists and machine learning engineers.
2.2 Compute Resources
Compute Resources are cloud-based resources used for running model training and data exploration processes. There are four types of compute resources you can create:
- Compute Instances: Development workstations for data scientists to work with data and models. This involves creating a Virtual Machine (VM) and launching a notebook instance. Models can then be trained by calling a compute cluster from the notebook.
- Compute Clusters: Scalable clusters of VMs for on-demand processing of experiment code. These are essential for training models and can include specialized GPU or CPU resources.
- Inference Clusters: Deployment targets for predictive services using trained models.
- Attached Compute: Links to existing Azure compute resources, such as Virtual Machines or Azure Databricks clusters.
2.2.1 Choosing the right options for your compute resources
When creating a compute resource, there are several important factors to consider, as these choices can significantly impact your project.
Do you need CPU or GPU?
A CPU (Central Processing Unit) is the main electronic circuitry that executes instructions in a computer program. A GPU (Graphics Processing Unit) is a specialized electronic circuit designed to process graphics-related tasks at high speeds.
The key difference between CPU and GPU architecture is that CPUs are optimized for handling a wide range of tasks quickly (measured by clock speed) but are limited in the number of tasks they can run concurrently. GPUs, on the other hand, excel at parallel computing, making them ideal for deep learning tasks.
| CPU | GPU |
|---|---|
| Less expensive | More expensive |
| Lower level of concurrency | Higher level of concurrency |
| Slower in training deep learning models | Optimal for deep learning |
Cluster Size
Larger clusters are more expensive but offer better responsiveness. If you have more time but a limited budget, start with a small cluster. If you have a larger budget but limited time, opt for a larger cluster.
VM Size
You can adjust the size of your RAM, disk, number of cores, and clock speed based on your time and budget constraints. Increasing these parameters will improve performance but also increase costs.
Dedicated or Low-Priority Instances?
Low-priority instances are interruptible, meaning Microsoft Azure can reassign these resources to other tasks, potentially interrupting your job. Dedicated instances, which are non-interruptible, ensure your job won't be terminated without your permission. This decision also comes down to time versus cost, as interruptible instances are cheaper than dedicated ones.
2.2.2 Creating a compute cluster
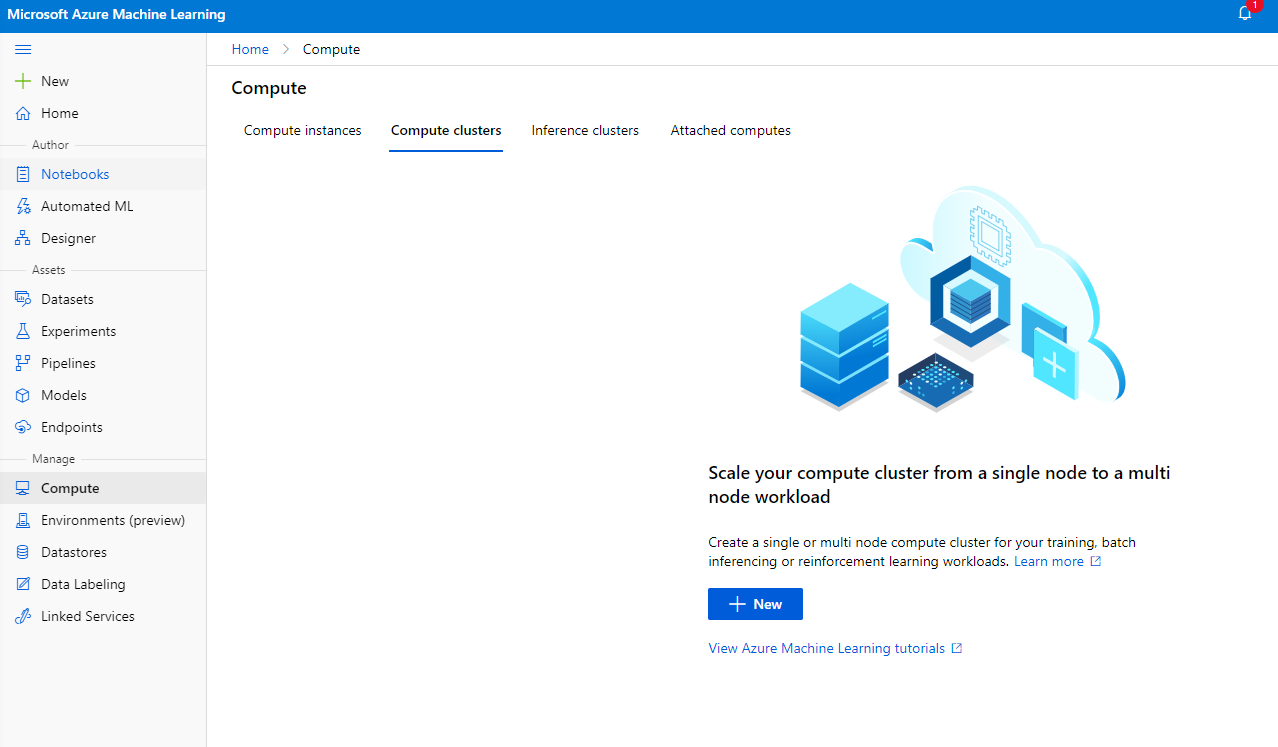
In the Azure ML workspace created earlier, navigate to the "Compute" section to view the various compute resources discussed (e.g., compute instances, compute clusters, inference clusters, and attached compute). For this project, you'll need a compute cluster for model training. In the Studio, click on the "Compute" menu, then the "Compute cluster" tab, and click the "+ New" button to create a compute cluster.
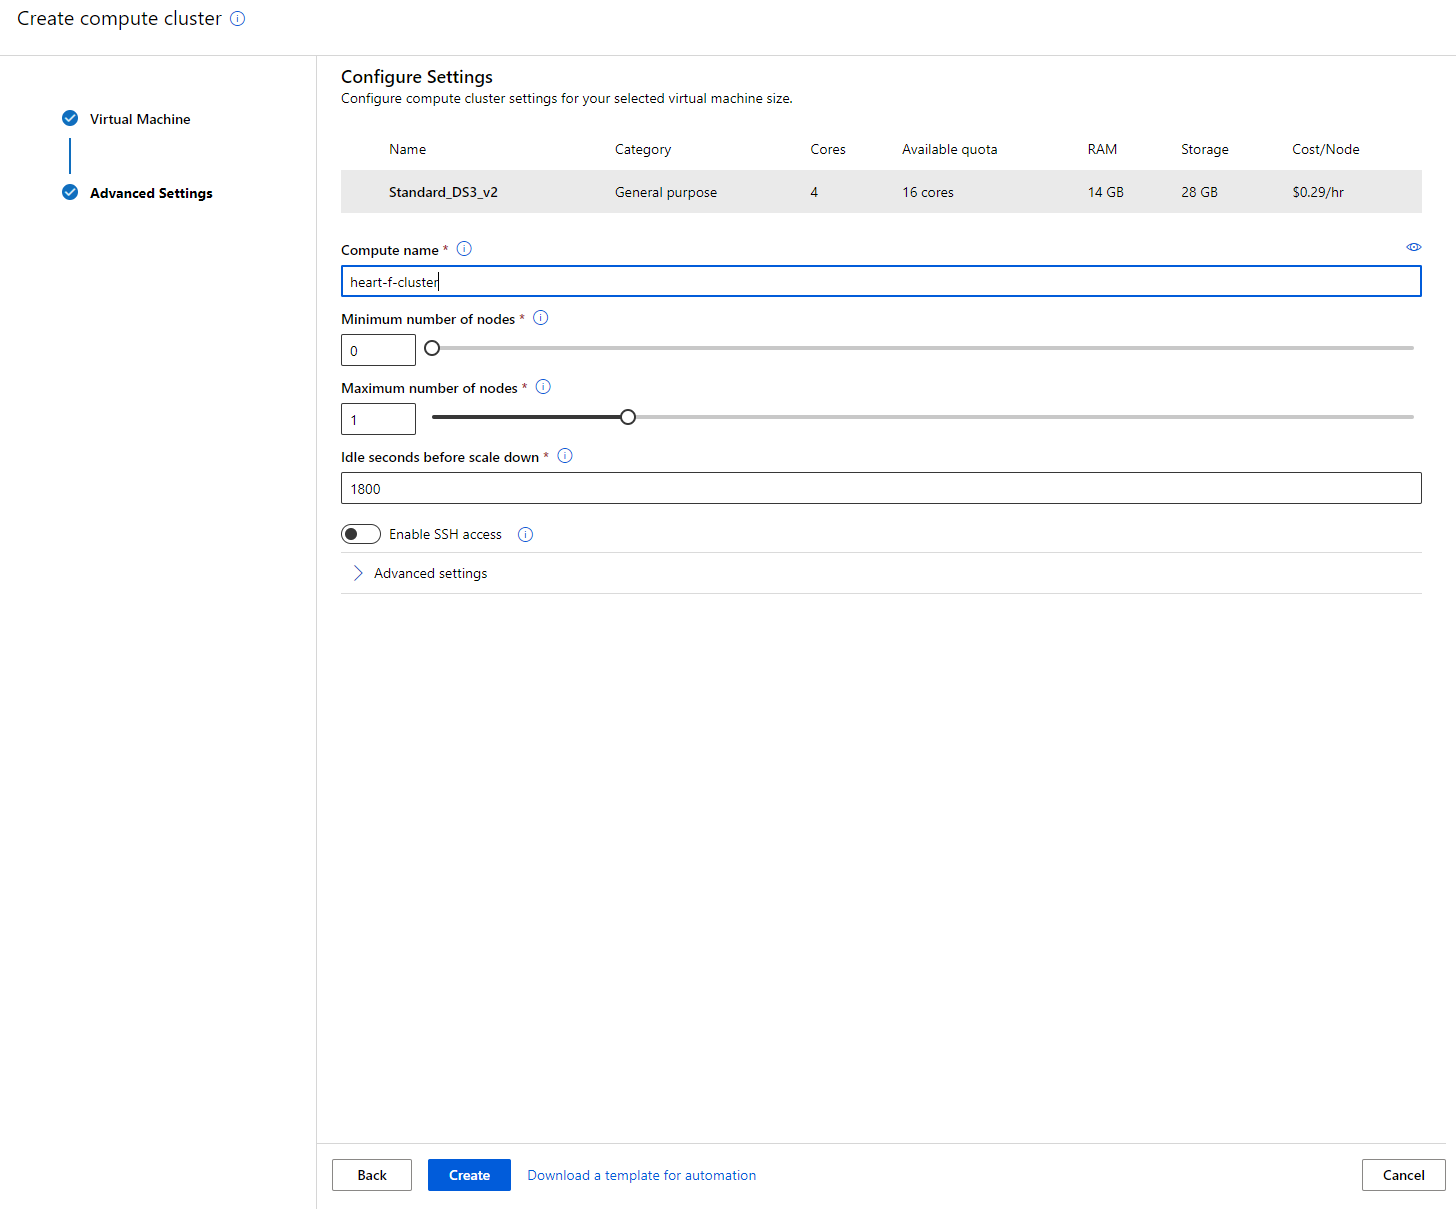
- Select your options: Dedicated vs Low priority, CPU or GPU, VM size, and core number (default settings can be used for this project).
- Click the "Next" button.

- Assign a name to the cluster.
- Configure options such as the minimum/maximum number of nodes, idle seconds before scale-down, and SSH access. Note that setting the minimum number of nodes to 0 saves money when the cluster is idle. A higher maximum number of nodes shortens training time, with 3 nodes being the recommended maximum.
- Click the "Create" button. This process may take a few minutes.
Great! Now that the compute cluster is ready, the next step is to load the data into Azure ML Studio.
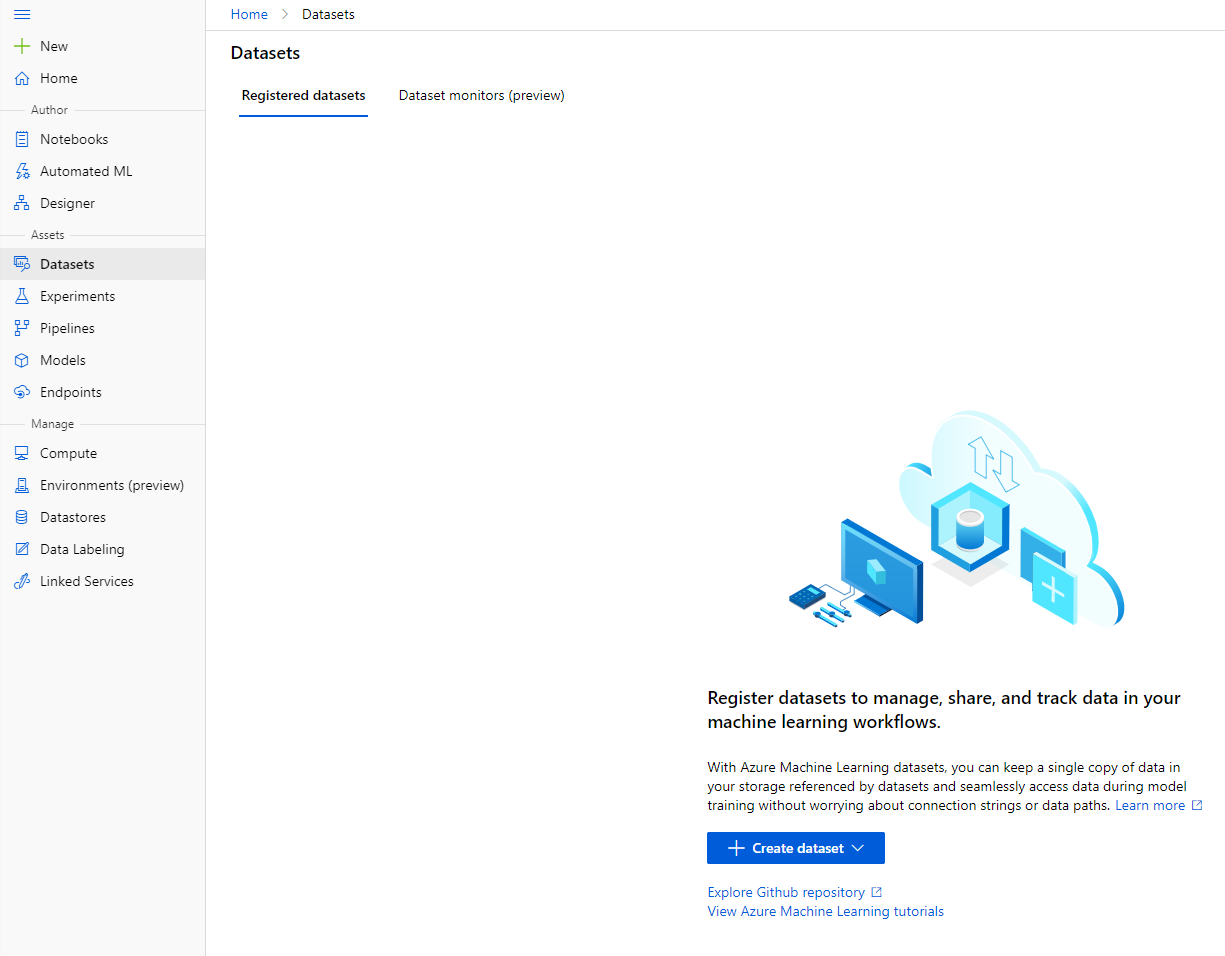
2.3 Loading the Dataset
-
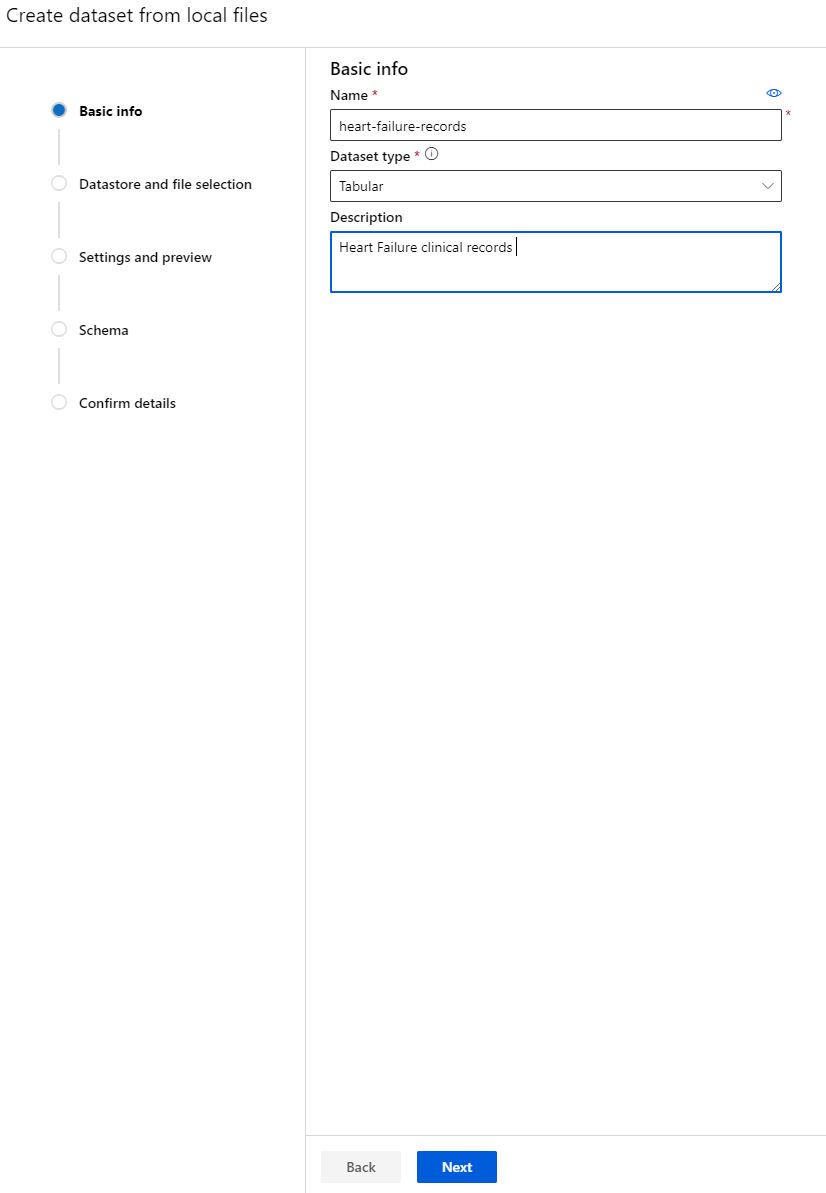
In the Azure ML workspace created earlier, click on "Datasets" in the left menu and then "+ Create dataset" to create a new dataset. Select the "From local files" option and upload the Kaggle dataset downloaded earlier.
-
Provide a name, type, and description for your dataset. Click "Next." Upload the data files and click "Next."
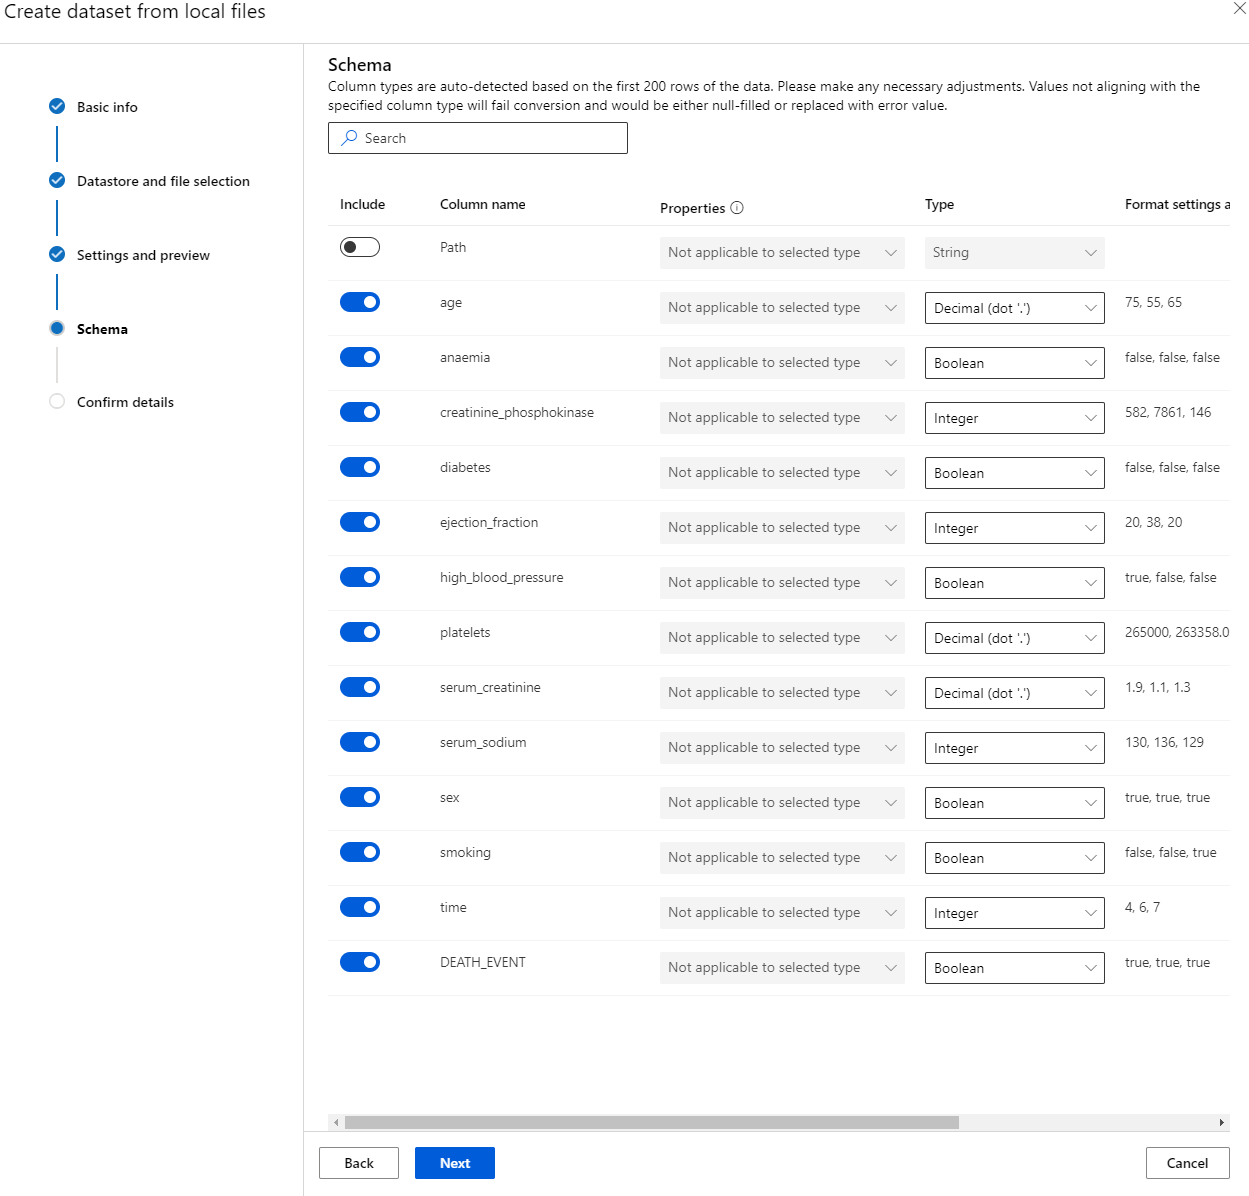
-
In the Schema section, change the data type to Boolean for the following features: anaemia, diabetes, high blood pressure, sex, smoking, and DEATH_EVENT. Click "Next" and then "Create."
Fantastic! With the dataset uploaded and the compute cluster created, you're ready to start training the model.
2.4 Low code/No Code training with AutoML
Developing traditional machine learning models is resource-intensive, requiring significant domain expertise and time to compare multiple models. Automated machine learning (AutoML) simplifies this process by automating repetitive tasks in model development. AutoML enables data scientists, analysts, and developers to efficiently build high-quality ML models, reducing the time needed to create production-ready models. Learn more.
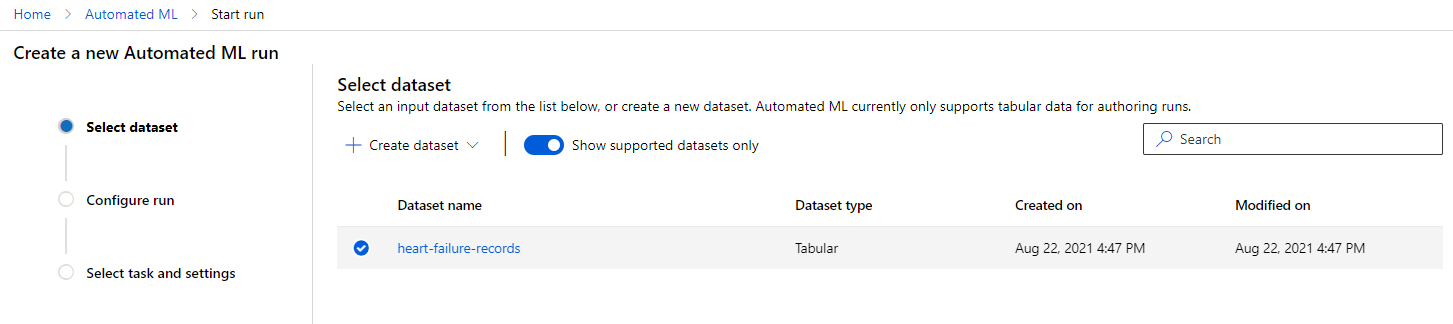
-
In the Azure ML workspace created earlier, click on "Automated ML" in the left menu and select the dataset you uploaded. Click "Next."
-
Enter a new experiment name, specify the target column (DEATH_EVENT), and select the compute cluster created earlier. Click "Next."
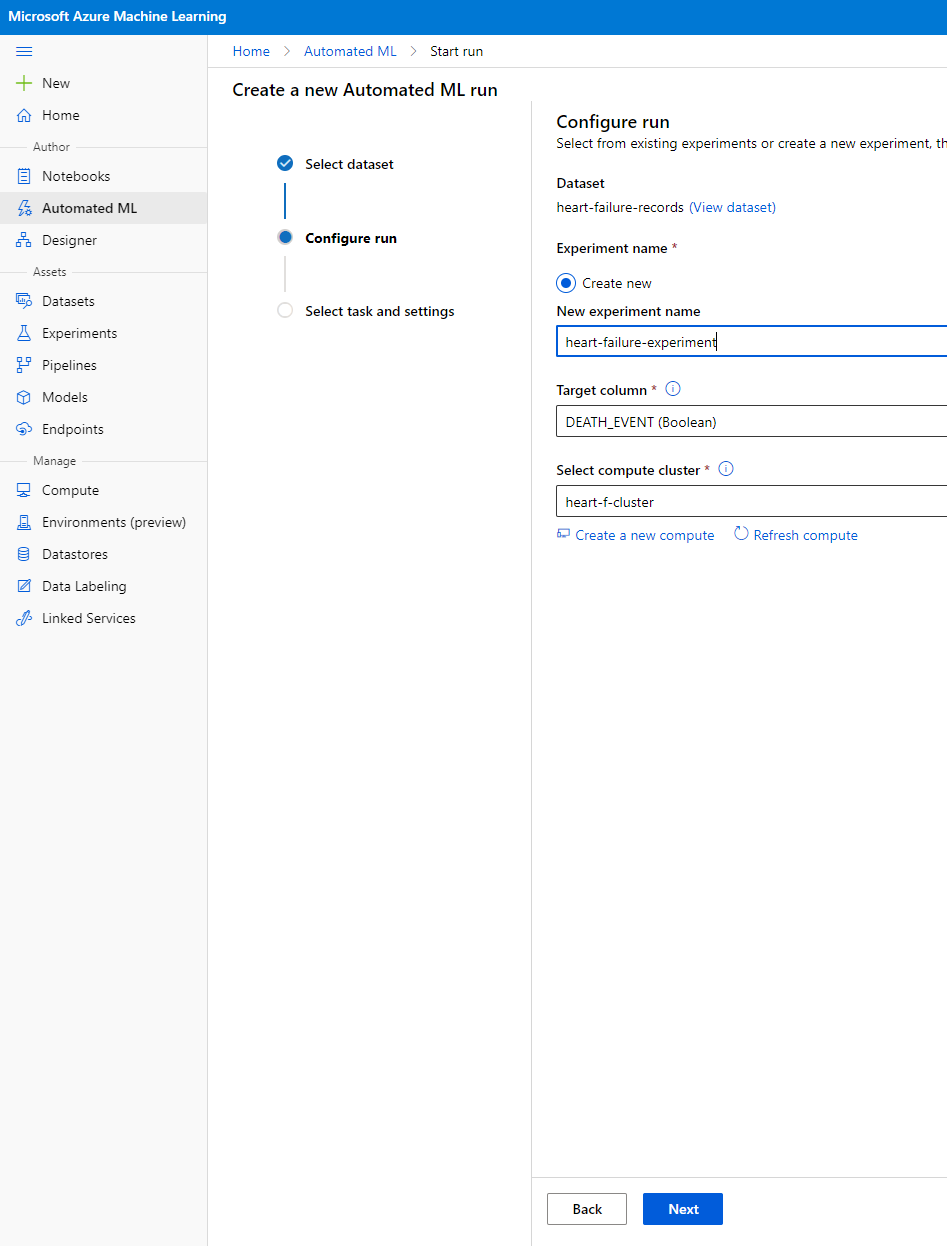
-
Choose "Classification" and click "Finish." This process may take 30 minutes to 1 hour, depending on your compute cluster size.

-
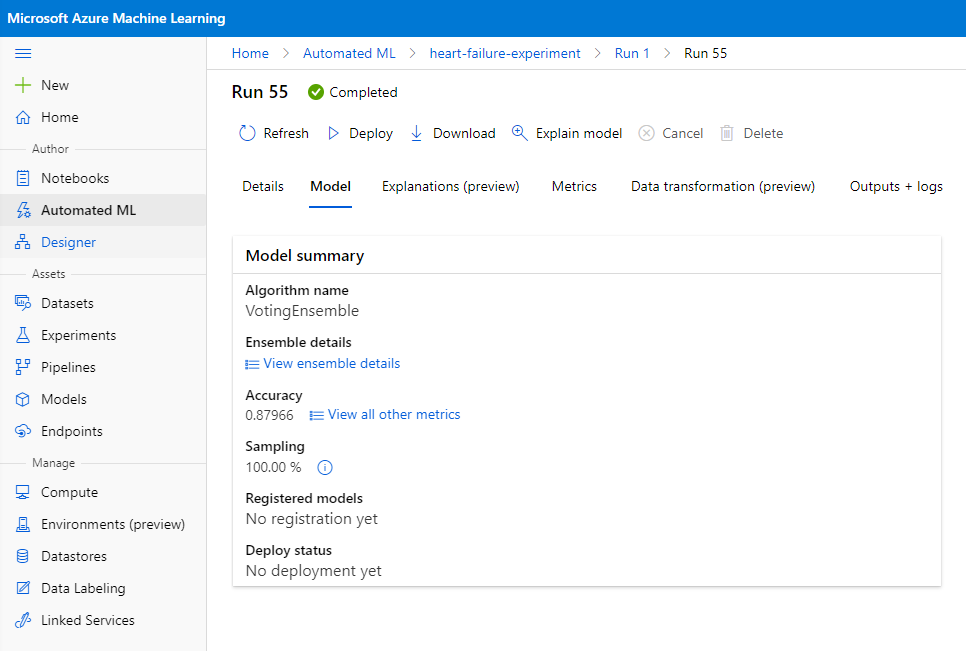
Once the run is complete, go to the "Automated ML" tab, select your run, and click on the algorithm listed in the "Best model summary" card.
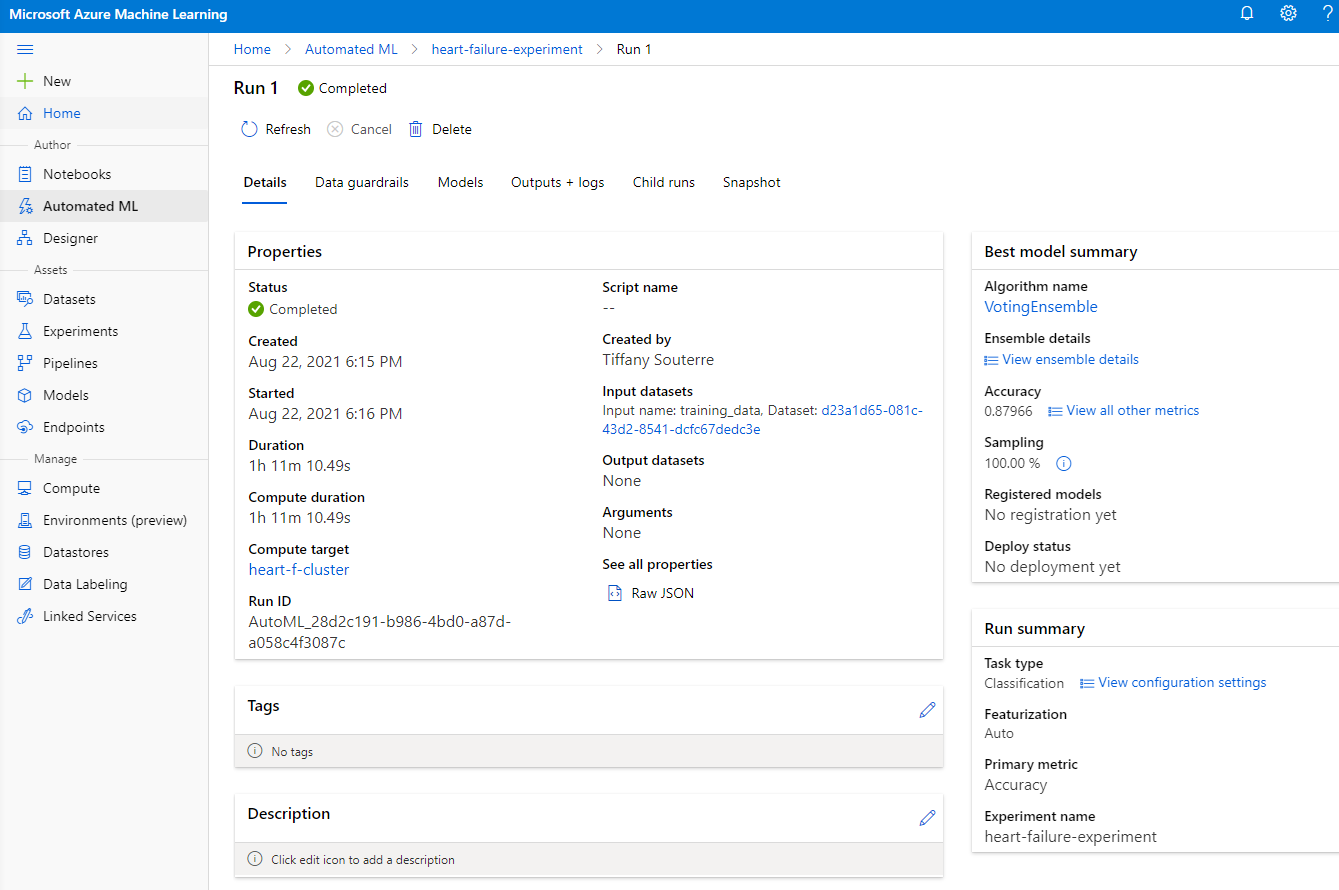
Here, you'll find detailed information about the best model generated by AutoML. You can also explore other models in the "Models" tab. Spend some time reviewing the explanations (preview button) for the models. Once you've selected the model to use (in this case, the best model chosen by AutoML), you'll proceed to deploy it.
3. Low code/No Code model deployment and endpoint consumption
3.1 Model deployment
The AutoML interface allows you to deploy the best model as a web service in just a few steps. Deployment integrates the model so it can make predictions based on new data, enabling applications to identify opportunities. For this project, deploying the model as a web service allows medical applications to make live predictions about patients' heart attack risks.
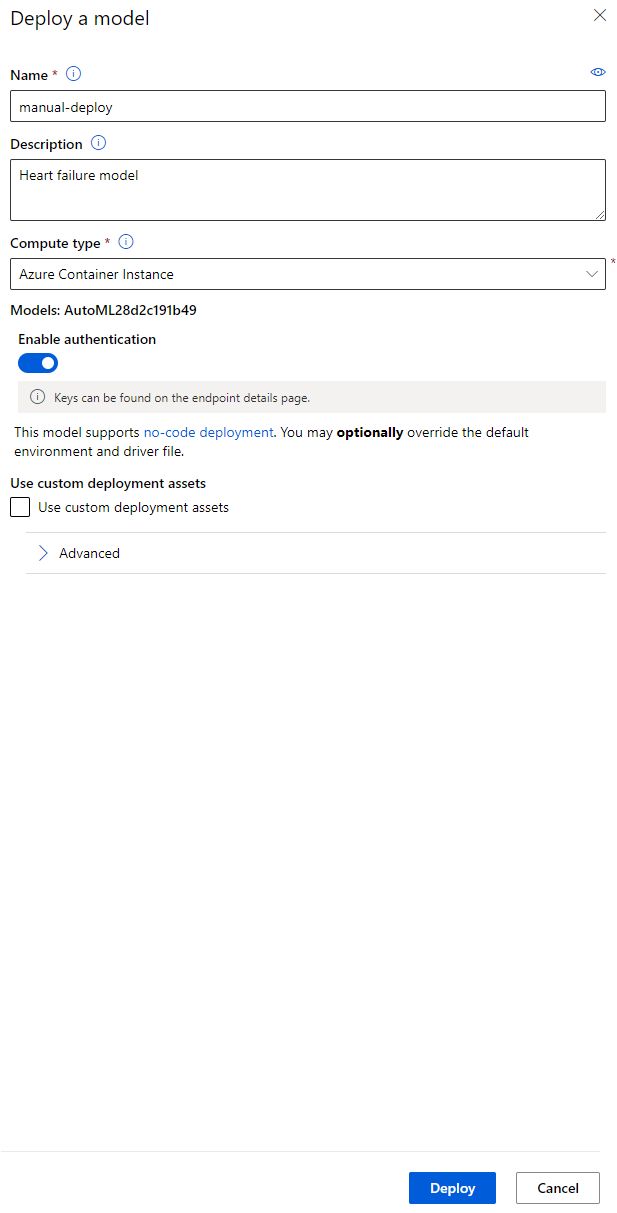
In the best model description, click the "Deploy" button.
- Provide a name, description, compute type (Azure Container Instance), enable authentication, and click "Deploy." This process may take about 20 minutes. Deployment involves registering the model, generating resources, and configuring them for the web service. A status message will appear under "Deploy status." Refresh periodically to check the status. The deployment is complete and running when the status is "Healthy."
- Once deployed, go to the "Endpoint" tab and select the endpoint you just deployed. Here, you'll find all the details about the endpoint.
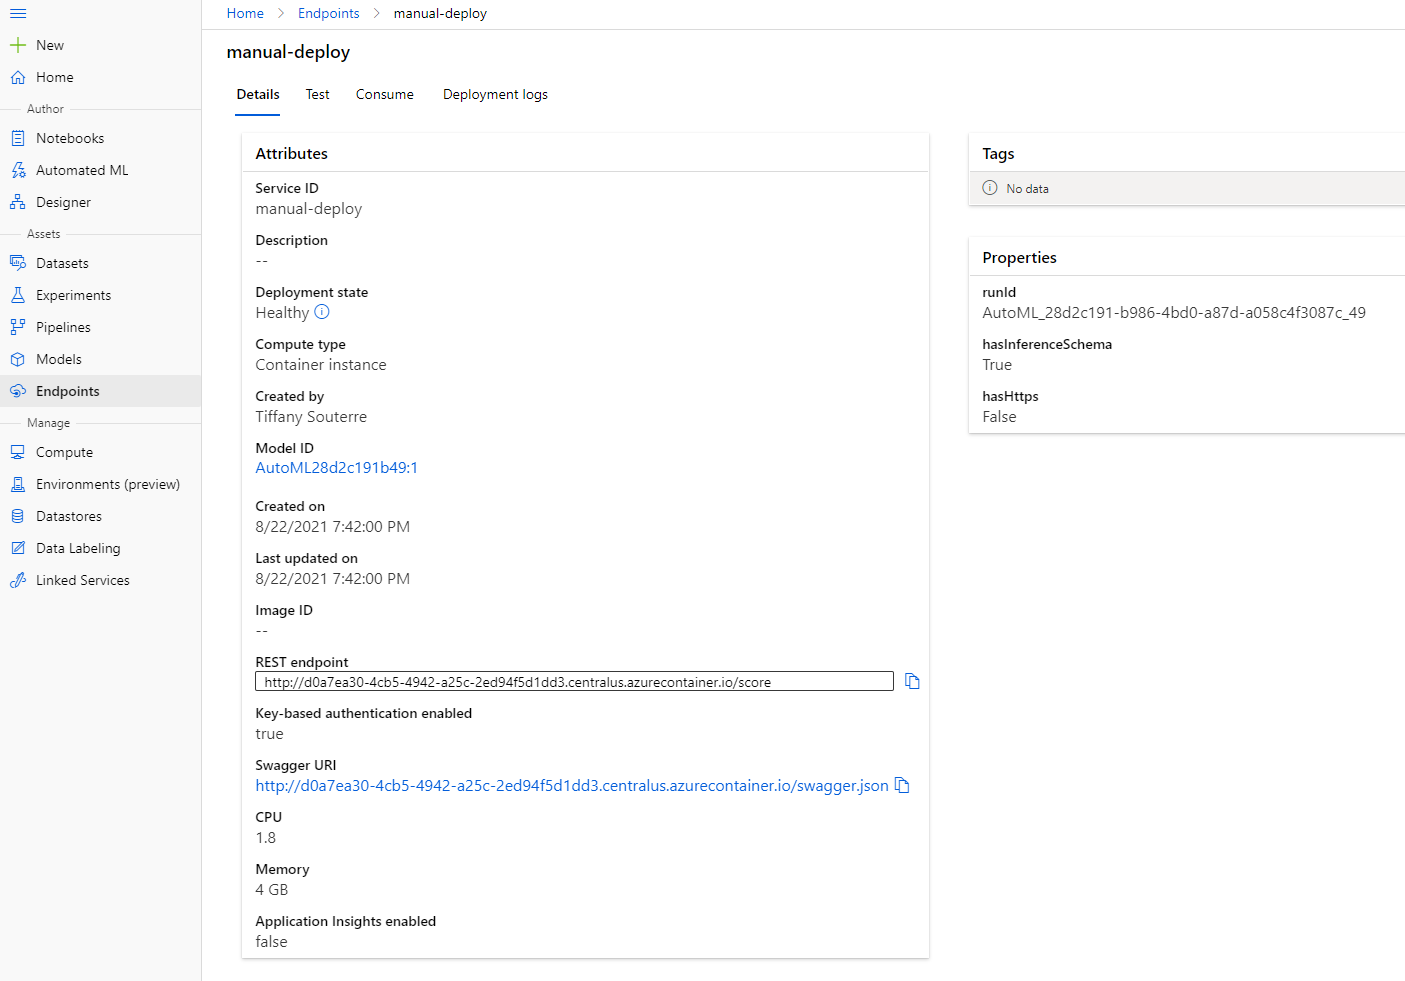
Excellent! With the model deployed, you can now consume the endpoint.
3.2 Endpoint consumption
Click on the "Consume" tab. Here, you'll find the REST endpoint and a Python script for consumption. Take some time to review the Python code.
This script can be run directly from your local machine to consume the endpoint.
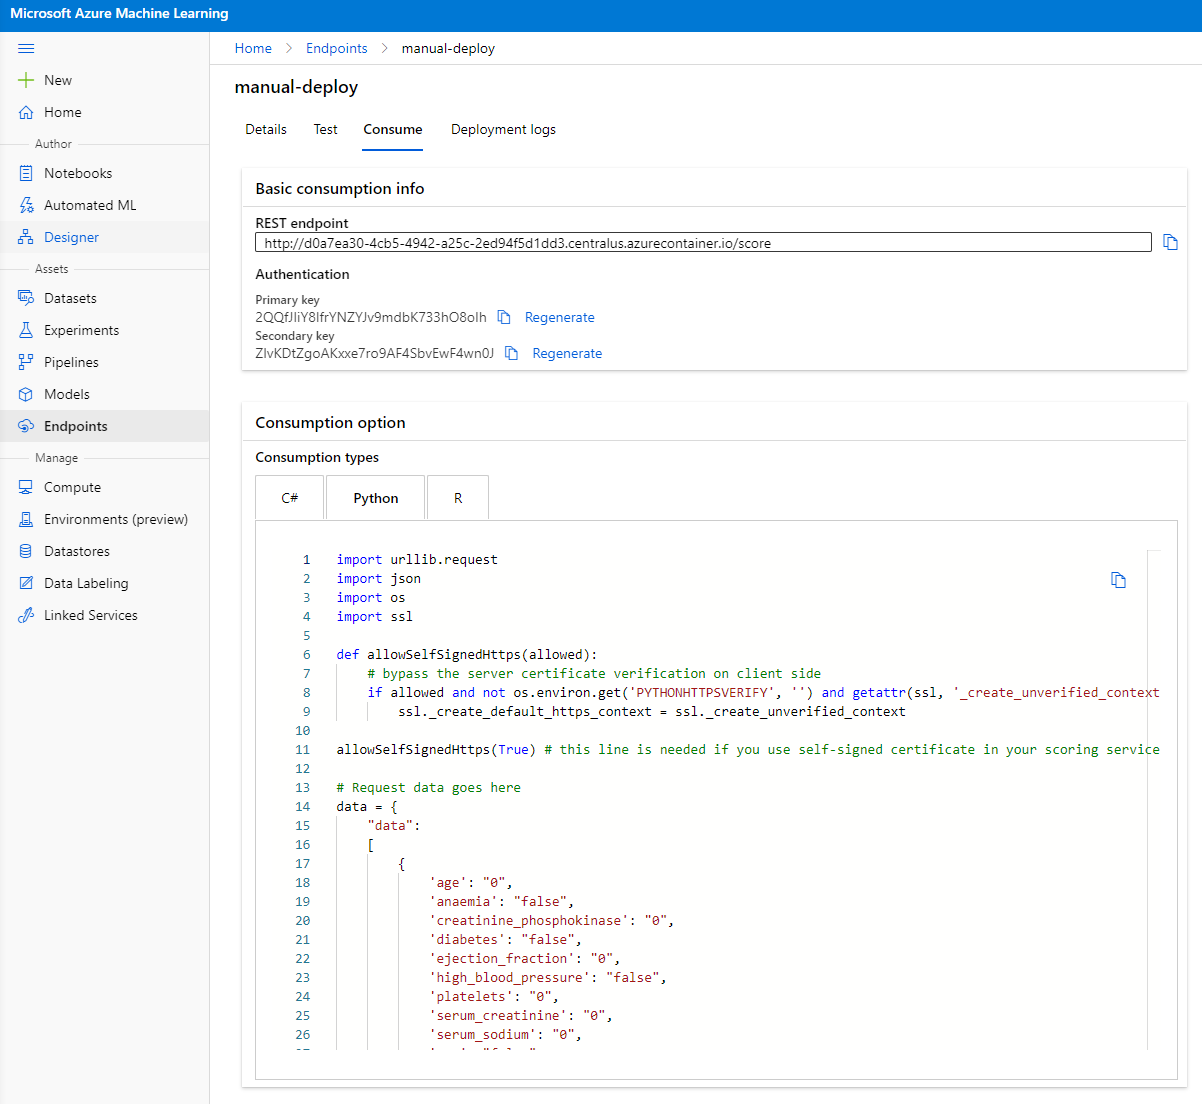
Pay attention to these two lines of code:
url = 'http://98e3715f-xxxx-xxxx-xxxx-9ec22d57b796.centralus.azurecontainer.io/score'
api_key = '' # Replace this with the API key for the web service
The url variable contains the REST endpoint from the "Consume" tab, and the api_key variable contains the primary key (if authentication is enabled). These elements allow the script to consume the endpoint.
- Running the script should produce the following output:
    b'"{\\"result\\": [true]}"'
    ```
This indicates that the prediction for heart failure based on the provided data is true. This makes sense because the default data in the script has all values set to 0 or false. You can modify the data using the following sample input:

```python
data = {
    "data":
    [
        {
            'age': "0",
            'anaemia': "false",
            'creatinine_phosphokinase': "0",
            'diabetes': "false",
            'ejection_fraction': "0",
            'high_blood_pressure': "false",
            'platelets': "0",
            'serum_creatinine': "0",
            'serum_sodium': "0",
            'sex': "false",
            'smoking': "false",
            'time': "0",
        },
        {
            'age': "60",
            'anaemia': "false",
            'creatinine_phosphokinase': "500",
            'diabetes': "false",
            'ejection_fraction': "38",
            'high_blood_pressure': "false",
            'platelets': "260000",
            'serum_creatinine': "1.40",
            'serum_sodium': "137",
            'sex': "false",
            'smoking': "false",
            'time': "130",
        },
    ],
}
The script should return:
    b'"{\\"result\\": [true, false]}"'
    ```

Congratulations! You've successfully trained, deployed, and consumed a model on Azure ML!

> **_NOTE:_** Once you've completed the project, remember to delete all resources.

## 🚀 Challenge

Examine the model explanations and details generated by AutoML for the top models. Try to understand why the best model outperformed the others. What algorithms were compared? What distinguishes them? Why does the best model perform better in this scenario?

## [Post-Lecture Quiz](https://purple-hill-04aebfb03.1.azurestaticapps.net/quiz/35)

## Review & Self Study

In this lesson, you learned how to train, deploy, and consume a model to predict heart failure risk using a Low code/No code approach in the cloud. If you haven't already, explore the model explanations generated by AutoML for the top models and understand why the best model is superior.

For further exploration of Low code/No code AutoML, refer to this [documentation](https://docs.microsoft.com/azure/machine-learning/tutorial-first-experiment-automated-ml?WT.mc_id=academic-77958-bethanycheum&ocid=AID3041109).

## Assignment

[Low code/No code Data Science project on Azure ML](assignment.md)

---

**Disclaimer**:
This document has been translated using the AI translation service [Co-op Translator](https://github.com/Azure/co-op-translator). While we strive for accuracy, please note that automated translations may contain errors or inaccuracies. The original document in its native language should be regarded as the authoritative source. For critical information, professional human translation is recommended. We are not responsible for any misunderstandings or misinterpretations resulting from the use of this translation.