26 KiB
JavaScript အခြေခံ: Arrays နှင့် Loops
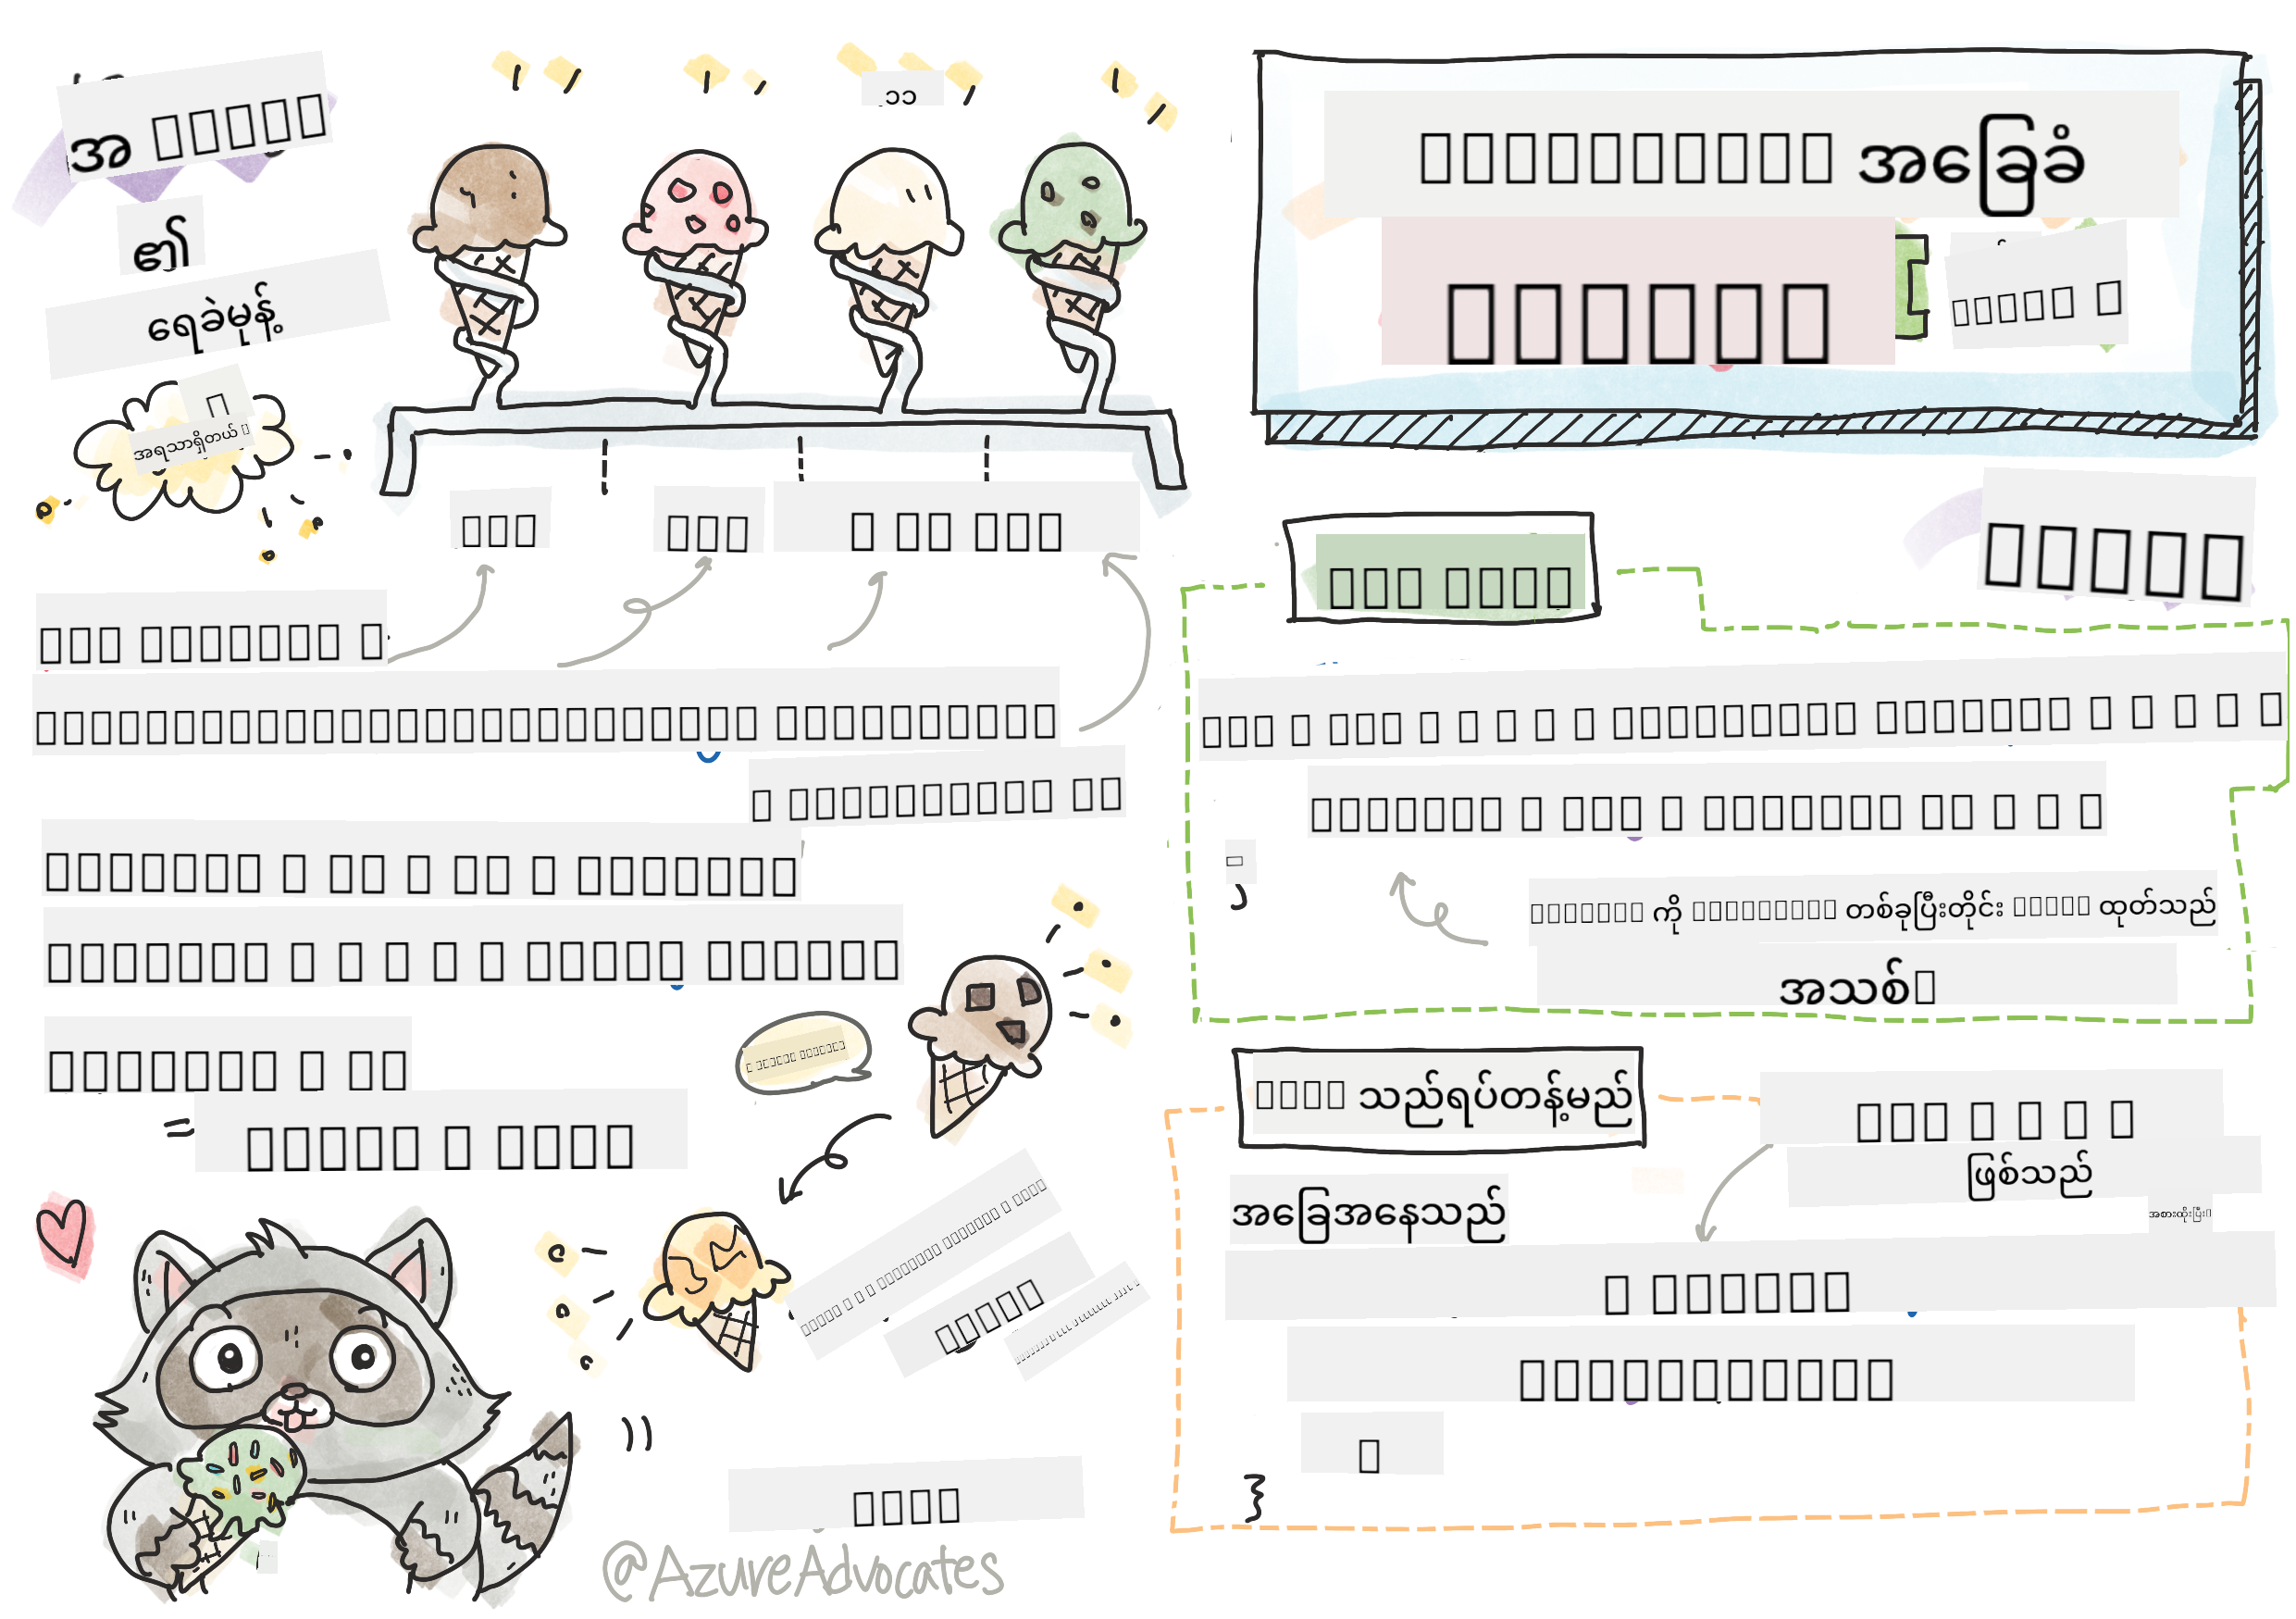
Sketchnote by Tomomi Imura
မိန့်ခွန်းမတိုင်မီ Quiz
ဝက်ဘ်ဆိုက်တွေက ဘယ်လို Shopping Cart item တွေကို ထိန်းသိမ်းထားနိုင်သလဲ၊ ဒါမှမဟုတ် မိတ်ဆွေစာရင်းကို ပြသနိုင်သလဲဆိုတာ စဉ်းစားဖူးပါသလား။ ဒါတွေကို Arrays နဲ့ Loops က အကူအညီပေးပါတယ်။ Arrays ဆိုတာ အချက်အလက်တွေကို စနစ်တကျ သိမ်းဆည်းထားတဲ့ ဒစ်ဂျစ်တယ်ကွန်တိန်နာတွေဖြစ်ပြီး Loops ကတော့ အဲဒီအချက်အလက်တွေကို ထိရောက်စွာ အလုပ်လုပ်စေဖို့ အကူအညီပေးပါတယ်။
ဒီနှစ်ခုကို ပေါင်းစပ်ပြီး သင့်ရဲ့ပရိုဂရမ်တွေမှာ အချက်အလက်တွေကို ထိန်းသိမ်းစီမံဖို့ အခြေခံအဆောက်အအုံဖြစ်ပါတယ်။ သင့်ရဲ့ Code ကို တစ်ဆင့်ချင်းရေးရတာကနေ ရှိသိမ်းပြီး အချက်အလက်များစွာကို အလွယ်တကူ အလုပ်လုပ်နိုင်တဲ့ Code ကို ဖန်တီးနိုင်ဖို့ သင်လေ့လာရမှာပါ။
ဒီသင်ခန်းစာအဆုံးမှာ သင် Code အနည်းငယ်နဲ့ အချက်အလက်တွေကို ထိရောက်စွာ စီမံနိုင်တဲ့ နည်းလမ်းတွေကို နားလည်သွားပါမယ်။ ဒီအရေးကြီးတဲ့ Programming အကြောင်းအရာတွေကို ရှာဖွေကြည့်ရအောင်။


🎥 အပေါ်ကပုံတွေကို Arrays နဲ့ Loops အကြောင်း Video တွေကြည့်ဖို့ Click လုပ်ပါ။
ဒီသင်ခန်းစာကို Microsoft Learn မှာ လေ့လာနိုင်ပါတယ်!
Arrays
Arrays ကို ဒစ်ဂျစ်တယ်ဖိုင်လှောင်အိမ်လိုပဲ စဉ်းစားပါ - တစ်ခုချင်းစီကို သိမ်းဆည်းတာမဟုတ်ဘဲ ဆက်စပ်နေတဲ့ အရာတွေကို တစ်ခုတည်းမှာ စနစ်တကျ စီမံနိုင်ပါတယ်။ Programming အရ Arrays က အချက်အလက်များစွာကို တစ်ခုတည်းမှာ စနစ်တကျ သိမ်းဆည်းနိုင်ပါတယ်။
သင် Photo Gallery တစ်ခုတည်ဆောက်နေတယ်၊ To-Do List ကို စီမံနေတယ်၊ ဒါမှမဟုတ် Game မှာ High Scores တွေကို ထိန်းသိမ်းနေတယ်ဆိုရင် Arrays က အချက်အလက်တွေကို စီမံဖို့ အခြေခံအဆောက်အအုံပေးပါတယ်။ ဒါတွေ ဘယ်လိုအလုပ်လုပ်သလဲဆိုတာ ကြည့်ရအောင်။
✅ Arrays က သင့်အနားမှာရှိနေပါတယ်! Solar Panel Array လို အမှန်တကယ် Array တစ်ခုကို စဉ်းစားနိုင်ပါသလား?
Arrays ဖန်တီးခြင်း
Array တစ်ခုဖန်တီးဖို့ အလွန်လွယ်ကူပါတယ် - Square Brackets ကို သုံးပါ!
// Empty array - like an empty shopping cart waiting for items
const myArray = [];
ဒီမှာ ဘာတွေဖြစ်နေသလဲ?
Square Brackets [] ကို သုံးပြီး အလွတ်ကွန်တိန်နာတစ်ခုကို ဖန်တီးလိုက်ပါပြီ။ ဒါကို အလွတ်စာကြည့်တိုက်တစ်ခုလို စဉ်းစားပါ - သင့်ရဲ့ စီမံလိုတဲ့ အရာတွေကို သိမ်းဆည်းဖို့ အဆင်သင့်ဖြစ်နေပါပြီ။
Array ကို စတင်ဖန်တီးချိန်မှာ အချက်အလက်တွေကို ထည့်သွင်းထားနိုင်ပါတယ်။
// Your ice cream shop's flavor menu
const iceCreamFlavors = ["Chocolate", "Strawberry", "Vanilla", "Pistachio", "Rocky Road"];

// A user's profile info (mixing different types of data)
const userData = ["John", 25, true, "developer"];

// Test scores for your favorite class
const scores = [95, 87, 92, 78, 85];
သတိထားစရာအချက်တွေ:
- Text, Numbers, True/False Values တွေကို တစ်ခုတည်းမှာ သိမ်းဆည်းနိုင်ပါတယ်
- Item တစ်ခုချင်းစီကို Comma နဲ့ ခွဲထားရုံပါပဲ - လွယ်ကူပါတယ်!
- Arrays က ဆက်စပ်နေတဲ့ အချက်အလက်တွေကို စီမံဖို့ အကောင်းဆုံးဖြစ်ပါတယ်
Array Indexing
Array တွေက သူ့ရဲ့ Item တွေကို 0 ကနေ စတင်နံပါတ်ပေးတယ်ဆိုတာ အစမှာတော့ ထူးဆန်းစရာဖြစ်နိုင်ပါတယ်။ ဒီ Zero-based Indexing က Computer Memory အလုပ်လုပ်ပုံနဲ့ ဆက်စပ်ပြီး Programming Language တွေဖြစ်တဲ့ C ကနေ စတင်ခဲ့တဲ့ Convention တစ်ခုဖြစ်ပါတယ်။ Array ရဲ့ တစ်ခုချင်း Item တွေမှာ Index လို့ခေါ်တဲ့ နံပါတ်တစ်ခုရပါတယ်။
| Index | Value | Description |
|---|---|---|
| 0 | "Chocolate" | ပထမ Item |
| 1 | "Strawberry" | ဒုတိယ Item |
| 2 | "Vanilla" | တတိယ Item |
| 3 | "Pistachio" | စတုတ္ထ Item |
| 4 | "Rocky Road" | ပဉ္စမ Item |
✅ Arrays တွေက 0 Index ကနေ စတင်တယ်ဆိုတာ အံ့ဩစရာလား? Programming Language တချို့မှာ Index တွေ 1 ကနေ စတင်ပါတယ်။ ဒီအကြောင်းရဲ့ သမိုင်းကို Wikipedia မှာ ဖတ်ရှုနိုင်ပါတယ်။
Array Element တွေကို Access လုပ်ခြင်း:
const iceCreamFlavors = ["Chocolate", "Strawberry", "Vanilla", "Pistachio", "Rocky Road"];

// Access individual elements using bracket notation
console.log(iceCreamFlavors[0]); // "Chocolate" - first element
console.log(iceCreamFlavors[2]); // "Vanilla" - third element
console.log(iceCreamFlavors[4]); // "Rocky Road" - last element
ဒီမှာ ဘာတွေဖြစ်နေသလဲ:
- Uses Square Bracket Notation နဲ့ Index Number ကို သုံးပြီး Element တွေကို Access လုပ်တယ်
- Returns အဲဒီ Array ရဲ့ ထိုနေရာမှာ သိမ်းဆည်းထားတဲ့ Value ကို ပြန်ပေးတယ်
- Starts 0 ကနေ စတင်ပြီး ပထမ Element ရဲ့ Index ကို 0 ဖြစ်စေတယ်
Array Element တွေကို ပြင်ဆင်ခြင်း:
// Change an existing value
iceCreamFlavors[4] = "Butter Pecan";
console.log(iceCreamFlavors[4]); // "Butter Pecan"

// Add a new element at the end
iceCreamFlavors[5] = "Cookie Dough";
console.log(iceCreamFlavors[5]); // "Cookie Dough"
အထက်မှာ ဘာတွေဖြစ်နေသလဲဆိုရင်:
- Modified Index 4 ရဲ့ Element ကို "Rocky Road" ကနေ "Butter Pecan" ပြောင်းလိုက်တယ်
- Added Index 5 မှာ "Cookie Dough" ဆိုတဲ့ Element အသစ်ထည့်လိုက်တယ်
- Expanded Array ရဲ့ အရှည်ကို အလိုအလျောက် တိုးလိုက်တယ်
Array Length နဲ့ Common Methods
Arrays တွေမှာ အချက်အလက်တွေကို အလုပ်လုပ်ဖို့ အလွယ်ကူစေတဲ့ Built-in Properties နဲ့ Methods တွေပါရှိပါတယ်။
Array Length ရှာဖွေခြင်း:
const iceCreamFlavors = ["Chocolate", "Strawberry", "Vanilla", "Pistachio", "Rocky Road"];
console.log(iceCreamFlavors.length); // 5

// Length updates automatically as array changes
iceCreamFlavors.push("Mint Chip");
console.log(iceCreamFlavors.length); // 6
သတိထားစရာအချက်တွေ:
- Returns Array ရဲ့ Element အရေအတွက်ကို ပြန်ပေးတယ်
- Updates Element တွေကို ထည့်သွင်းခြင်း၊ ဖယ်ရှားခြင်းနဲ့ အလိုအလျောက် ပြောင်းလဲတယ်
- Provides Loop တွေမှာ Boundary သတ်မှတ်ဖို့ Dynamic Count ကို ပေးတယ်
အရေးကြီးတဲ့ Array Methods:
const fruits = ["apple", "banana", "orange"];

// Add elements
fruits.push("grape");           // Adds to end: ["apple", "banana", "orange", "grape"]
fruits.unshift("strawberry");   // Adds to beginning: ["strawberry", "apple", "banana", "orange", "grape"]

// Remove elements
const lastFruit = fruits.pop();        // Removes and returns "grape"
const firstFruit = fruits.shift();     // Removes and returns "strawberry"

// Find elements
const index = fruits.indexOf("banana"); // Returns 1 (position of "banana")
const hasApple = fruits.includes("apple"); // Returns true
ဒီ Methods တွေကို နားလည်ပါ:
push()(အဆုံး) နဲ့unshift()(အစ) ကို သုံးပြီး Element တွေကို ထည့်သွင်းတယ်pop()(အဆုံး) နဲ့shift()(အစ) ကို သုံးပြီး Element တွေကို ဖယ်ရှားတယ်indexOf()နဲ့ Element ရဲ့ နေရာကို ရှာဖွေတယ်၊includes()နဲ့ ရှိ/မရှိကို စစ်ဆေးတယ်- ဖယ်ရှားထားတဲ့ Element တွေ၊ နေရာ Index တွေလို အသုံးဝင်တဲ့ Value တွေကို ပြန်ပေးတယ်
✅ Browser ရဲ့ Console ကို သုံးပြီး သင့်ရဲ့ Array ကို ဖန်တီးပြီး စမ်းသပ်ကြည့်ပါ။
Loops
Charles Dickens ရဲ့ ဝတ္ထုတွေမှာ ကျောင်းသားတွေ Slate ပေါ်မှာ စာကြောင်းတွေကို ထပ်ခါတလဲလဲ ရေးရတဲ့ အကျိုးအပြစ်ကို စဉ်းစားပါ။ "ဒီစာကြောင်းကို 100 ကြိမ် ရေးပါ" လို့ ပြောလိုက်ရုံနဲ့ အလိုအလျောက် ပြီးစီးသွားမယ်ဆိုရင် ဘယ်လိုဖြစ်မလဲ။ Loops က သင့်ရဲ့ Code အတွက် အဲဒီလို အလုပ်လုပ်ပေးပါတယ်။
Loops တွေက အလုပ်မပျက်တဲ့ အကူအညီတစ်ခုလိုပါပဲ။ Shopping Cart ရဲ့ Item တစ်ခုချင်းစီကို စစ်ဆေးဖို့၊ Album ရဲ့ Photo တွေကို ပြသဖို့လိုတဲ့အခါ Loops က အလုပ်တွေကို ထိရောက်စွာ ပြုလုပ်ပေးပါတယ်။
JavaScript မှာ Loop အမျိုးအစားအများကြီးရှိပြီး သင့်အတွက် သင့်တော်တဲ့ Loop ကို ရွေးချယ်နိုင်ပါတယ်။ အဲဒီ Loop တစ်ခုချင်းစီကို ကြည့်ပြီး ဘယ်အခါ သုံးရမလဲဆိုတာ နားလည်ရအောင်။
For Loop
for Loop က Timer တစ်ခုလိုပါပဲ - ဘယ်ကြိမ်အလုပ်လုပ်ရမလဲဆိုတာ သေချာသိထားပါတယ်။ အလွန်စနစ်တကျနဲ့ ခန့်မှန်းနိုင်တဲ့ Loop ဖြစ်ပြီး Arrays တွေကို အလုပ်လုပ်ဖို့၊ Item တွေကို ရေတွက်ဖို့ အကောင်းဆုံးဖြစ်ပါတယ်။
For Loop Structure:
| Component | Purpose | Example |
|---|---|---|
| Initialization | စတင်နေရာ သတ်မှတ် | let i = 0 |
| Condition | ဆက်လုပ်ဖို့ အခြေအနေ | i < 10 |
| Increment | Update လုပ်ပုံ | i++ |
// Counting from 0 to 9
for (let i = 0; i < 10; i++) {
  console.log(`Count: ${i}`);
}

// More practical example: processing scores
const testScores = [85, 92, 78, 96, 88];
for (let i = 0; i < testScores.length; i++) {
  console.log(`Student ${i + 1}: ${testScores[i]}%`);
}
ဒီမှာ ဘာတွေဖြစ်နေသလဲဆိုရင်:
- Initializes Counter Variable
iကို 0 အဖြစ် စတင်သတ်မှတ်တယ် - Checks အခြေအနေ
i < 10ကို Loop တစ်ကြိမ်စီမှာ စစ်ဆေးတယ် - Executes အခြေအနေမှန်ရင် Code Block ကို အလုပ်လုပ်တယ်
- Increments
iကို Loop တစ်ကြိမ်ပြီးတိုင်း 1 တိုးတယ် - Stops အခြေအနေမှားသွားတဲ့အခါ (i = 10 ဖြစ်တဲ့အခါ)
✅ ဒီ Code ကို Browser Console မှာ Run လုပ်ကြည့်ပါ။ Counter, Condition, Iteration Expression တွေကို အနည်းငယ် ပြောင်းလဲလိုက်ရင် ဘာဖြစ်မလဲဆိုတာ ကြည့်ပါ။ Loop ကို နောက်ပြန်လုပ်ပြီး Countdown ဖန်တီးနိုင်ပါသလား?
While Loop
while Loop က "ဒီအလုပ်ကို ဆက်လုပ်ပါ၊ အဲဒီအခြေအနေဖြစ်တဲ့အထိ" လို့ ပြောတာလိုပါပဲ - ဘယ်ကြိမ် Loop လုပ်ရမလဲဆိုတာ မသိနိုင်ပေမယ့် ဘယ်အချိန်ရပ်ရမလဲဆိုတာ သိပါတယ်။ User Input ကို လိုအပ်တဲ့အထိ မေးမြန်းဖို့၊ ဒါမှမဟုတ် အချက်အလက်တွေကို ရှာဖွေဖို့ အကောင်းဆုံးဖြစ်ပါတယ်။
While Loop Characteristics:
- Continues အခြေအနေမှန်တဲ့အထိ Loop လုပ်တယ်
- Requires Counter Variable တွေကို Manual စီမံရတယ်
- Checks အခြေအနေကို Loop တစ်ကြိမ်စီမှာ စစ်ဆေးတယ်
- Risks အခြေအနေမှားမသွားရင် Infinite Loop ဖြစ်နိုင်တယ်
// Basic counting example
let i = 0;
while (i < 10) {
  console.log(`While count: ${i}`);
  i++; // Don't forget to increment!
}

// More practical example: processing user input
let userInput = "";
let attempts = 0;
const maxAttempts = 3;

while (userInput !== "quit" && attempts < maxAttempts) {
  userInput = prompt(`Enter 'quit' to exit (attempt ${attempts + 1}):`);
  attempts++;
}

if (attempts >= maxAttempts) {
  console.log("Maximum attempts reached!");
}
ဒီဥပမာတွေကို နားလည်ပါ:
- Manages Counter Variable
iကို Loop Body အတွင်းမှာ Manual စီမံတယ် - Increments Counter ကို Infinite Loop မဖြစ်အောင် တိုးတယ်
- Demonstrates User Input နဲ့ Attempt Limiting ကို အသုံးပြုတဲ့ Practical Use Case
- Includes Endless Execution ကို ကာကွယ်ဖို့ Safety Mechanisms
Modern Loop Alternatives
JavaScript မှာ Loop Syntax အသစ်တွေရှိပြီး သင့်ရဲ့ Code ကို ပိုမိုဖတ်ရှုရလွယ်ကူစေပါတယ်။
For...of Loop (ES6+):
const colors = ["red", "green", "blue", "yellow"];

// Modern approach - cleaner and safer
for (const color of colors) {
  console.log(`Color: ${color}`);
}

// Compare with traditional for loop
for (let i = 0; i < colors.length; i++) {
  console.log(`Color: ${colors[i]}`);
}
For...of ရဲ့ အကျိုးကျေးဇူးများ:
- Eliminates Index Management နဲ့ Off-by-One Error တွေကို ဖယ်ရှားတယ်
- Provides Array Element တွေကို Direct Access ပေးတယ်
- Improves Code ရဲ့ ဖတ်ရှုရလွယ်ကူမှုနဲ့ Syntax ရဲ့ ရှုပ်ထွေးမှုကို လျှော့ချတယ်
forEach Method:
const prices = [9.99, 15.50, 22.75, 8.25];

// Using forEach for functional programming style
prices.forEach((price, index) => {
  console.log(`Item ${index + 1}: $${price.toFixed(2)}`);
});

// forEach with arrow functions for simple operations
prices.forEach(price => console.log(`Price: $${price}`));
forEach အကြောင်း သိထားရမယ့်အချက်များ:
- Executes Array Element တစ်ခုချင်းစီအတွက် Function တစ်ခုကို အလုပ်လုပ်စေတယ်
- Provides Element Value နဲ့ Index ကို Parameter အနေနဲ့ ပေးတယ်
- Cannot Traditional Loop တွေလို အလယ်မှာ ရပ်တန့်နိုင်ဘူး
- Returns Undefined (Array အသစ်မဖန်တီးဘဲ)
✅ For Loop နဲ့ While Loop ကို ဘာကြောင့် ရွေးချယ်ရမလဲဆိုတာ စဉ်းစားကြည့်ပါ။ StackOverflow မှာ 17K Viewer တွေက ဒီအကြောင်းကို စဉ်းစားထားတဲ့အကြောင်း ကို ဖတ်ရှုနိုင်ပါတယ်။
Loops နဲ့ Arrays
Arrays တွေကို Loops နဲ့ ပေါင်းစပ်ခြင်းက အချက်အလက်တွေကို အလုပ်လုပ်ဖို့ အလွန်ထိရောက်တဲ့ စွမ်းရည်တွေကို ဖန်တီးပေးပါတယ်။ ဒီပေါင်းစပ်မှုက Programming Task အများကြီးမှာ အခြေခံဖြစ်ပြီး List တွေကို ပြသခြင်း၊ Statistics တွေကို တွက်ချက်ခြင်းတို့အတွက် အရေးကြီးပါတယ်။
Traditional Array Processing:
const iceCreamFlavors = ["Chocolate", "Strawberry", "Vanilla", "Pistachio", "Rocky Road"];

// Classic for loop approach
for (let i = 0; i < iceCreamFlavors.length; i++) {
  console.log(`Flavor ${i + 1}: ${iceCreamFlavors[i]}`);
}

// Modern for...of approach
for (const flavor of iceCreamFlavors) {
  console.log(`Available flavor: ${flavor}`);
}
ဒီအနည်းလမ်းတွေကို နားလည်ပါ:
- Uses Array Length Property ကို Loop Boundary သတ်မှတ်ဖို့ အသုံးပြုတယ်
- Accesses Element တွေကို Traditional For Loop တွေမှာ Index နဲ့ Access လုပ်တယ်
- Provides Direct Element Access ကို For...of Loop တွေမှာ ပေးတယ်
- Processes Array Element တစ်ခုချင်းစီကို တစ်ကြိမ်စီ အလုပ်လုပ်တယ်
Practical Data Processing Example:
const studentGrades = [85, 92, 78, 96, 88, 73, 89];
let total = 0;
let highestGrade = studentGrades[0];
let lowestGrade = studentGrades[0];

// Process all grades with a single loop
for (let i = 0; i < studentGrades.length; i++) {
  const grade = studentGrades[i];
  total += grade;

  if (grade > highestGrade) {
    highestGrade = grade;
  }

  if (grade < lowestGrade) {
    lowestGrade = grade;
  }
}

const average = total / studentGrades.length;
console.log(`Average: ${average.toFixed(1)}`);
console.log(`Highest: ${highestGrade}`);
console.log(`Lowest: ${lowestGrade}`);
ဒီ Code ဘယ်လိုအလုပ်လုပ်သလဲဆိုရင်:
- Initializes Sum နဲ့ Extreme တွေကို Track လုပ်ဖို့ Variable တွေကို စတင်သတ်မှတ်တယ်
- Processes Grade တစ်ခုချင်းစီကို Loop တစ်ခုတည်းနဲ့ အလုပ်လုပ်တယ်
- Accumulates Total ကို Average တွက်ချက်ဖို့ စုစည်းတယ်
- Tracks အမြင့်ဆုံးနဲ့ အနိမ့်ဆုံး Value တွေကို Iteration အတွင်းမှာ စောင့်ကြည့်တယ်
- Calculates Loop ပြီးဆုံးတဲ့အခါ Final Statistics တွေကို တွက်ချက်တယ်
✅ Browser Console မှာ သင့်ရဲ့ Array ကို Loop လုပ်ပြီး စမ်းသပ်ကြည့်ပါ။
GitHub Copilot Agent Challenge 🚀
Agent Mode ကို အသုံးပြုပြီး အောက်ပါ Challenge ကို ပြီးမြောက်စေပါ:
Description: Arrays နဲ့ Loops ကို ပေါင်းစပ်ပြီး Dataset ကို ခွဲခြမ်းစိတ်ဖြာပြီး အရေးကြီးတဲ့ Insight တွေကို ဖန်တီးနိုင်တဲ့ Comprehensive Data Processing Function တစ်ခုကို ဖန်တီးပါ။
Prompt: analyzeGrades ဆိုတဲ့ Function တစ်ခုကို ဖန်တီးပြီး Student Grade Object တွေ (Name နဲ့ Score Properties ပါဝင်တဲ့) Array ကို Input အနေနဲ့ ယူပြီး Statistics တွေ (Highest Score, Lowest Score, Average Score, Passed Students Count (Score >= 70), Above Average Score ရတဲ့ Student Name Array) ကို Return ပြန်ပေးပါ။ Solution မှာ Loop အမျိုးအစား ၂ မျိုးကို အသုံးပြုပါ။
Agent Mode အကြောင်း [ပိုမိုလေ့လာပါ](https://code.visualstudio.com/blogs/2025/02/24/introducing-copilot
အကြောင်းကြားချက်:
ဤစာရွက်စာတမ်းကို AI ဘာသာပြန်ဝန်ဆောင်မှု Co-op Translator ကို အသုံးပြု၍ ဘာသာပြန်ထားပါသည်။ ကျွန်ုပ်တို့သည် တိကျမှုအတွက် ကြိုးစားနေသော်လည်း အလိုအလျောက် ဘာသာပြန်မှုများတွင် အမှားများ သို့မဟုတ် မတိကျမှုများ ပါဝင်နိုင်သည်ကို သတိပြုပါ။ မူရင်းဘာသာစကားဖြင့် ရေးသားထားသော စာရွက်စာတမ်းကို အာဏာတရားရှိသော အရင်းအမြစ်အဖြစ် သတ်မှတ်သင့်ပါသည်။ အရေးကြီးသော အချက်အလက်များအတွက် လူက ဘာသာပြန်မှုကို အကြံပြုပါသည်။ ဤဘာသာပြန်မှုကို အသုံးပြုခြင်းမှ ဖြစ်ပေါ်လာသော အလွဲအမှားများ သို့မဟုတ် အနားလွဲမှုများအတွက် ကျွန်ုပ်တို့သည် တာဝန်မယူပါ။