# [💻 LiveTerm - build terminal styled websites in minutes!](https://liveterm.vercel.app)
Highly customizable, easy-to-use, and minimal terminal styled website template, powered by Next.js.
Building a simple website with LiveTerm only takes **minutes**, and you only need to work with **one** file: `config.json`. After you cloned this repository, simply run `yarn install && yarn dev` and start editing `config.json` to build your website!
LiveTerm can be used to build a variety of websites:
- [personal website](https://cveinnt.com)
- [browser startpage](https://livetermstart.vercel.app/)
- [project page](https://liveterm.vercel.app/)
- or maybe just a cool browser music player...be creative!
Feel free to play with the web demo above!
## 📸 Showcase
LiveTerm with different themes
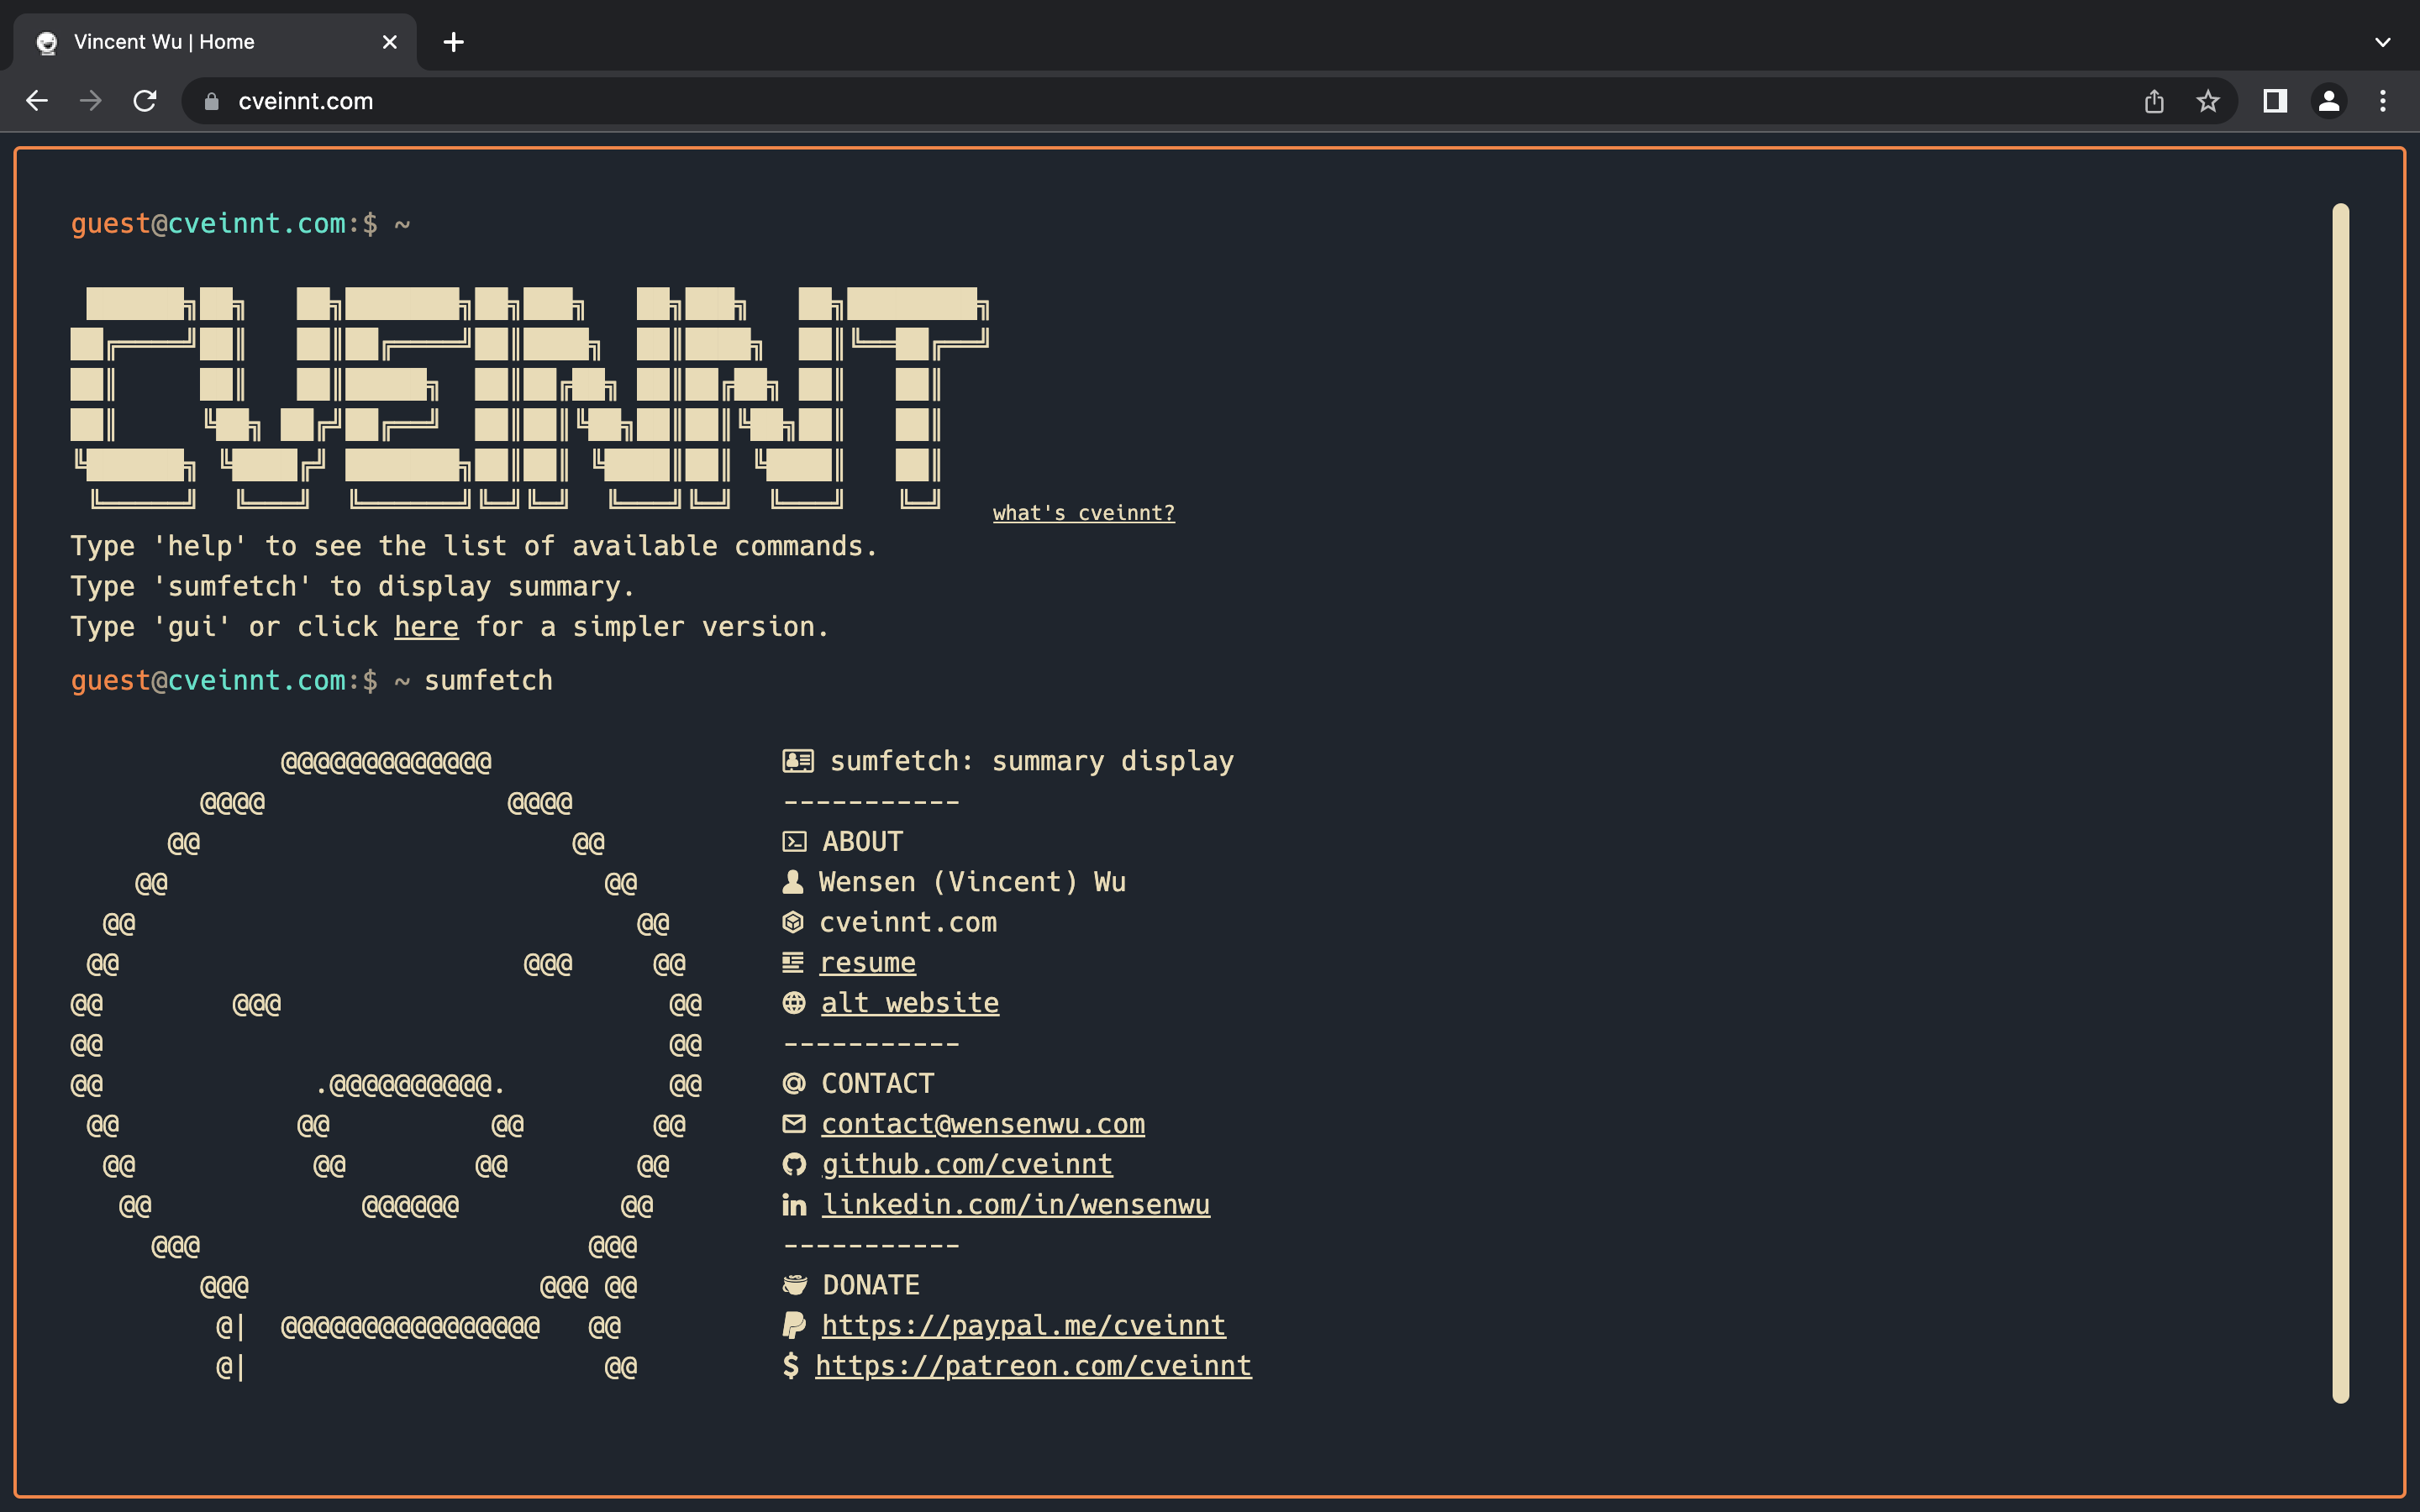
my personal website
## 🚀 Ship your LiveTerm site in less than 5 minutes
LiveTerm requires the `yarn` package manager. You can install `yarn` [here](https://classic.yarnpkg.com/lang/en/docs/install/).
Simply run the following commmand in your terminal:
```bash
sh -c "$(curl -fsSL https://raw.github.com/Cveinnt/LiveTerm/main/install/install.sh)"
```
This will install LiveTerm to the current directory. You can start building your website with:
```bash
cd LiveTerm && yarn dev
```
Start editing `config.json` and try saving and see the updated changes!
Alternatively, you can clone this repository to a location of your choosing
```bash
git clone https://github.com/Cveinnt/LiveTerm.git && cd LiveTerm
```
Then install dependencies and start developing there:
```bash
yarn install && yarn dev
```
### Docker Usage
First, clone the project and edit `config.json` to your liking. Then run the following to start the container in the background:
```shell
docker-compose up -d
```
If you **know** what you were doing, you can also try changing `Dockerfile` & `docker-compose.yml`!
Learn more about Docker [here](https://docs.docker.com/get-started/overview/ 'here').
## 📄 Configuration
### Basic Configuration
90% of LiveTerm's configurations are done through the `config.json` file.
```javascript
{
"readmeUrl": // create a Github README and link it here!
"title": // title of the website
"name": // your name, included in 'about' command
"ascii": // ascii art to display
"social": {
"github": // your handle
"linkedin": // your handle
},
"email": // your email
"ps1_hostname": "liveterm" // hostname in prompt
"ps1_username": "visitor", // username in prompt
"resume_url": "../resume.pdf", // path to your resume
"non_terminal_url": "W",
"colors": {
"light": {
...
},
"dark": {
... // you can use existing templates in themes.json or use your own!
}
}
}
```
Feel free to change it as you see fit!
### Themes
You can find several pre-configured themes in `themes.json`, and you can replace the colors in `config.json` with the theme color you like! The themes are based on the themes on [this website](https://glitchbone.github.io/vscode-base16-term/#/).
For a better preview of the themes, checkout the images in the `demo` folder.
### Favicons
Favicons are located in `public/`, along with the other files you may want to upload to your website. I used this [website](https://www.favicon-generator.org/) to generate favicons.
### Banner
You may also want to change the output of the `banner` command. To do that, simply paste your generated banner in `src/utils/bin/commands.ts`. I used this [website](https://manytools.org/hacker-tools/ascii-banner/) to generate my banner.
### Advanced Configuration
If you want to further customize your page, feel free to change the source code to your liking!
## 🌐 Deploy on Vercel
The easiest way to deploy a Next.js app is to use the [Vercel Platform](https://vercel.com/) from the creators of Next.js.
You can install `vercel` cli and follow the instruction [here](https://vercel.com/docs/concepts/deployments/overview).
You can also connect your github account to vercel and have vercel automatically deploy the github repository for you.
## Credit
Based on M4TT72's awesome [Terminal](https://github.com/m4tt72/terminal).